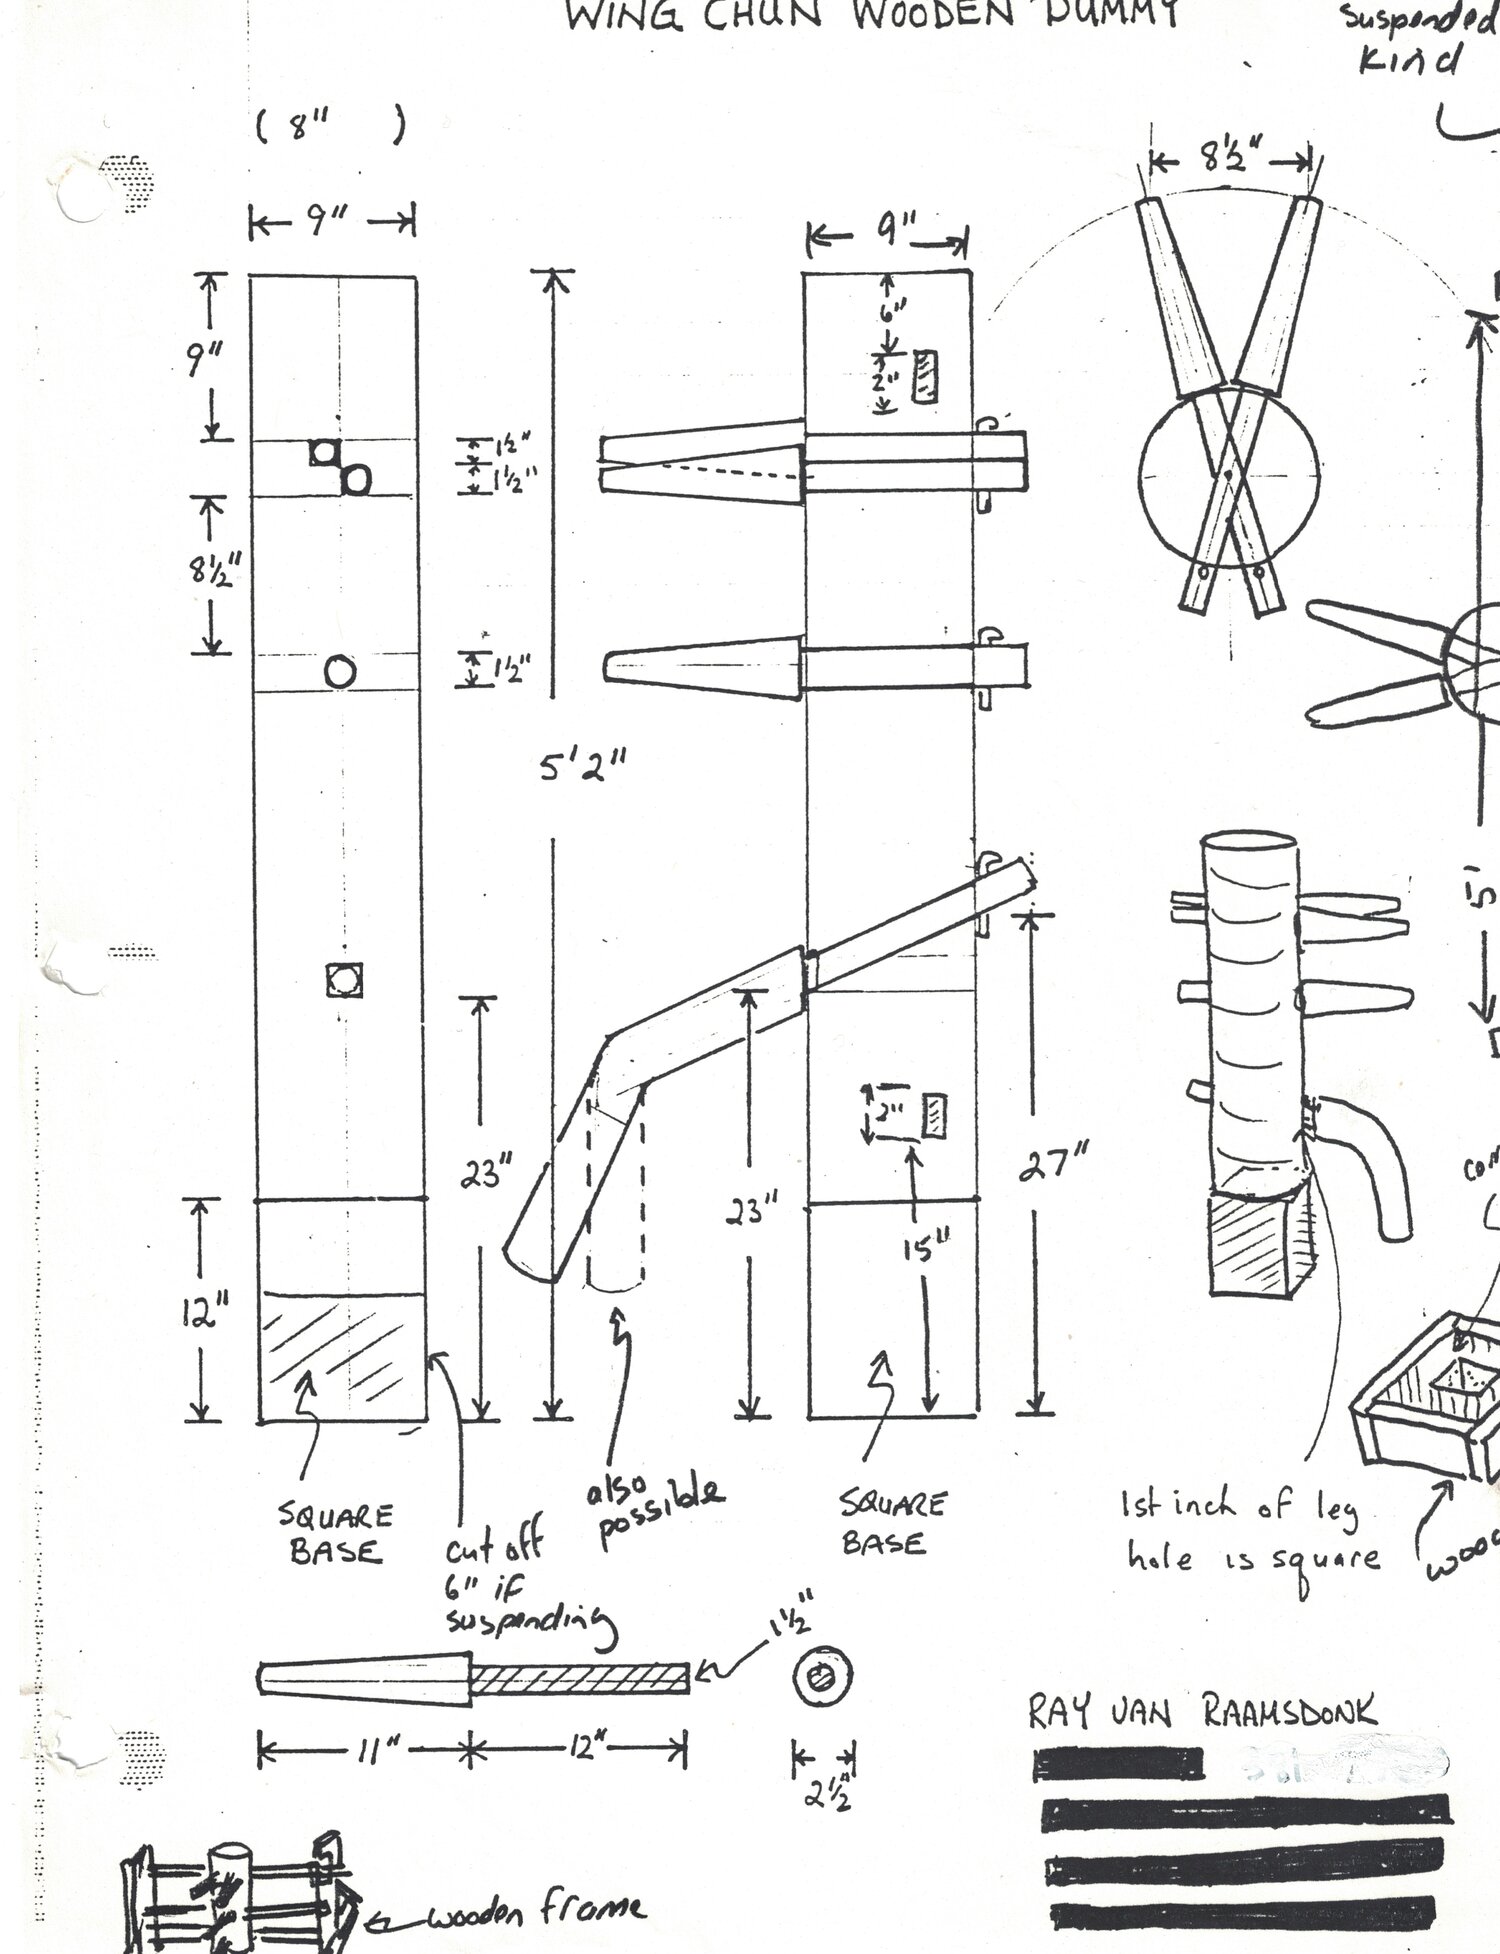
I’ve completed the dummy body and worked out the plan and made sketchup diagrams with all dimensions for someone to make their own dummy.
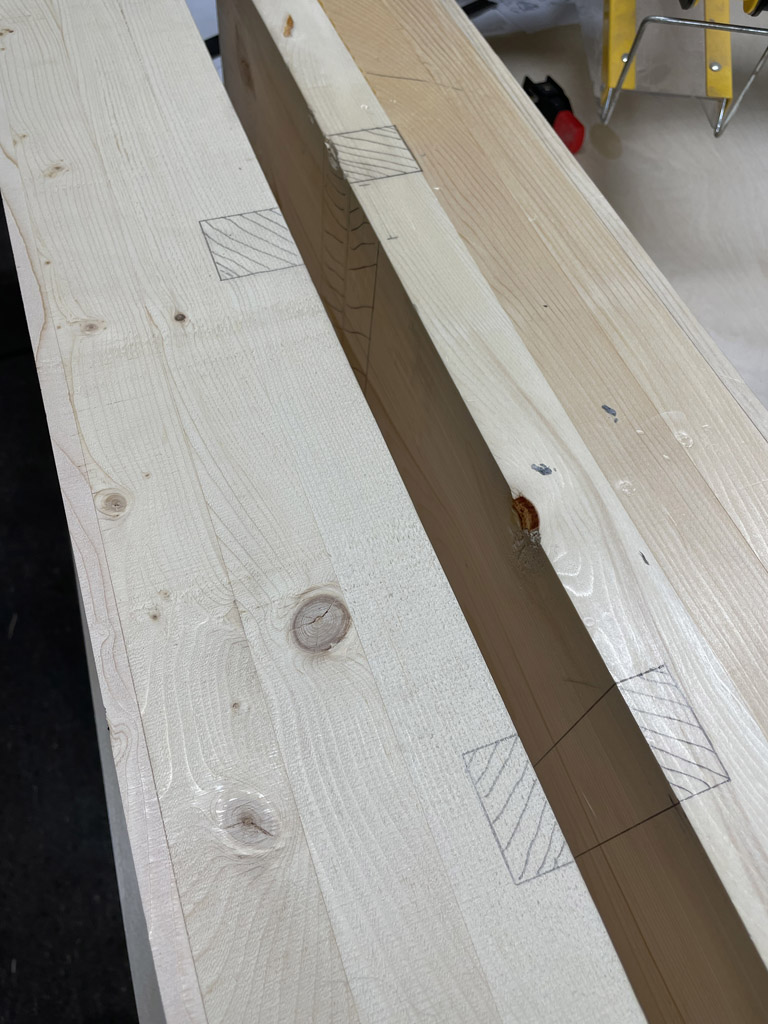
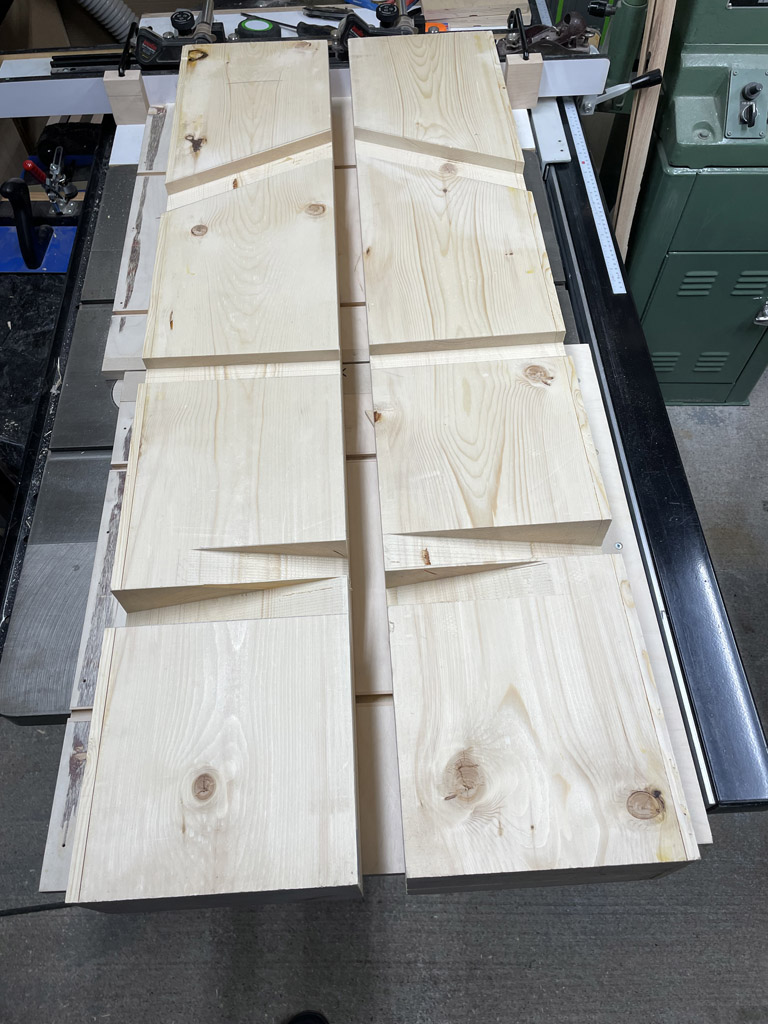
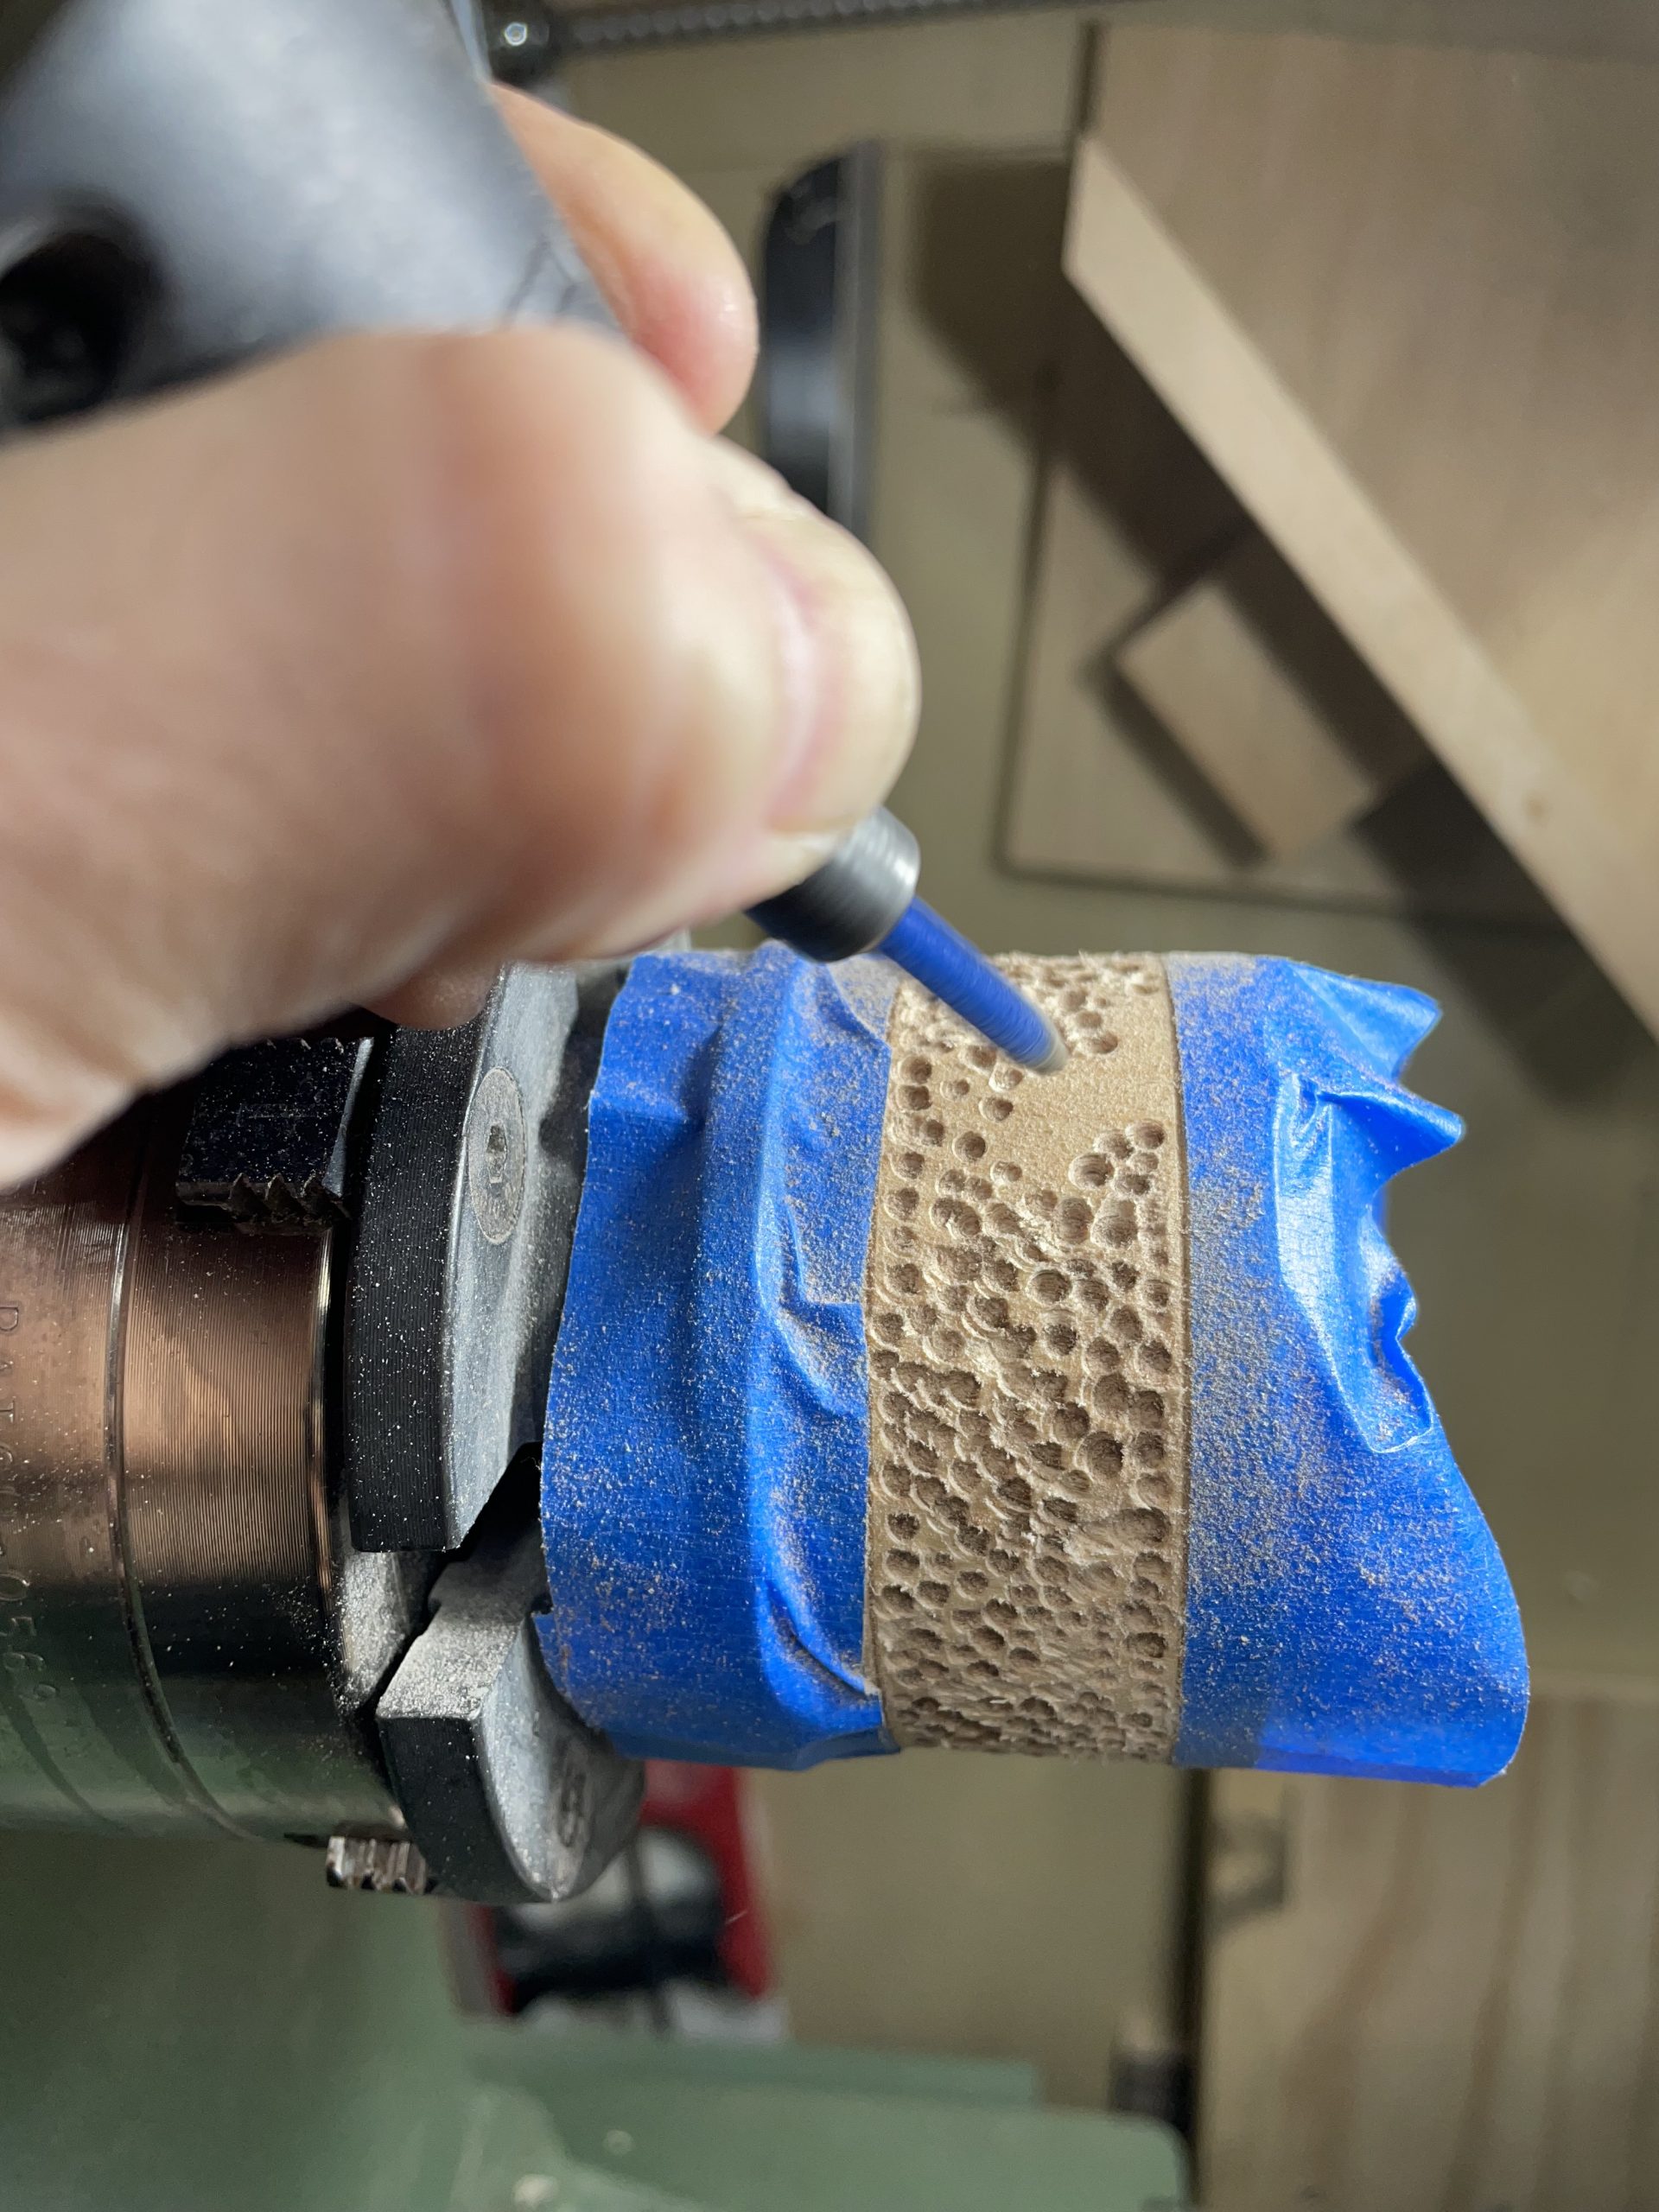
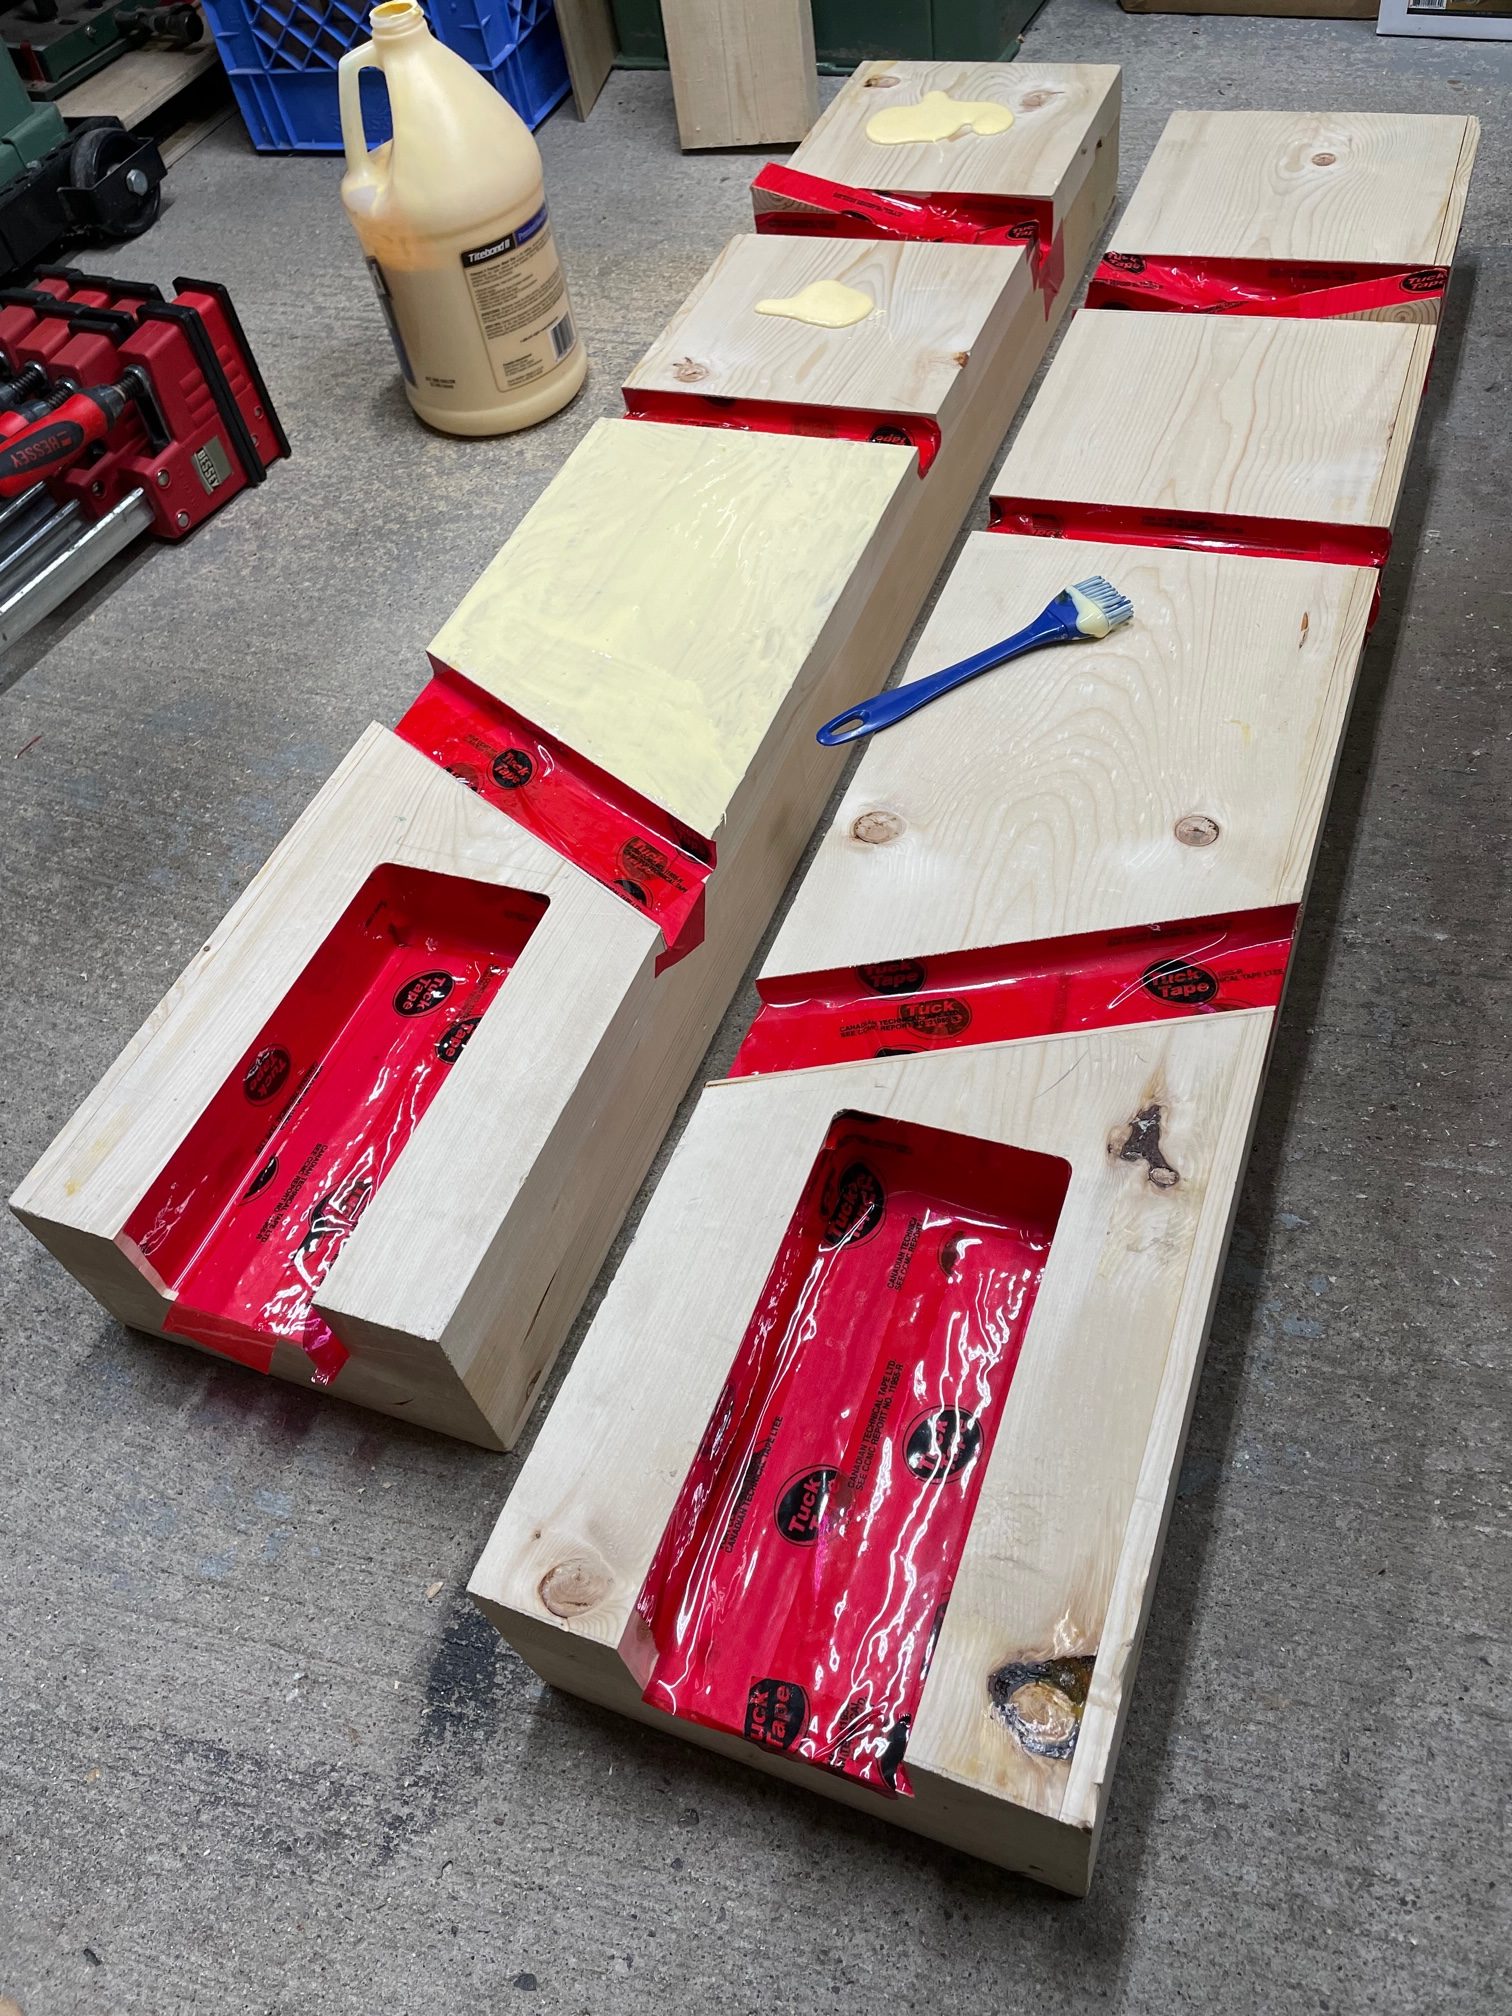
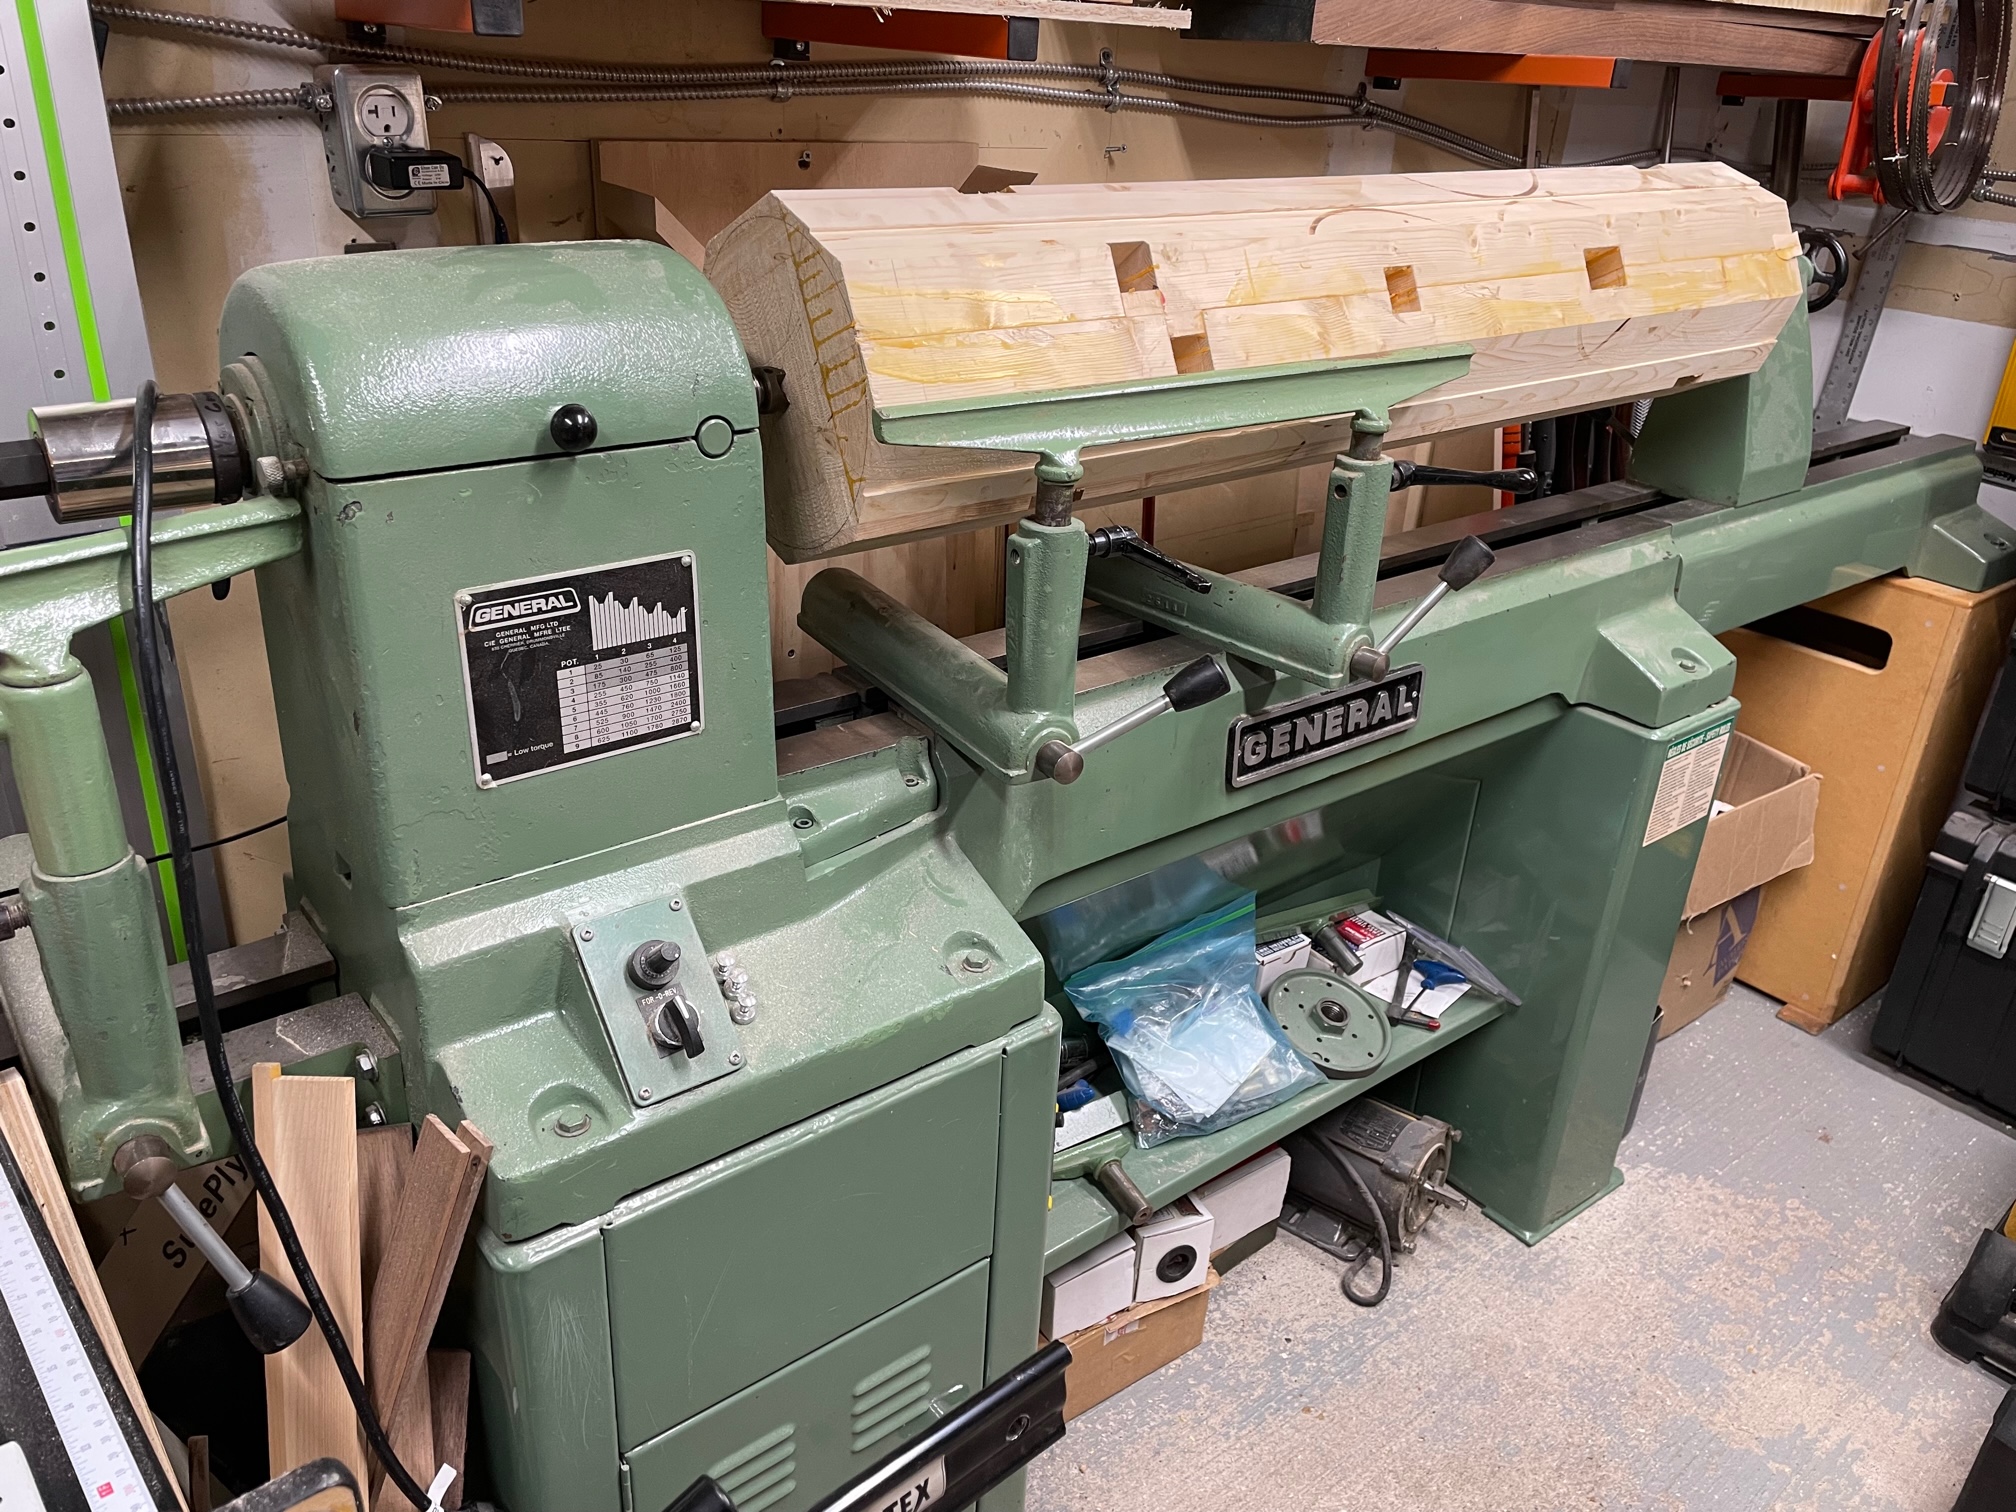
Here I’ve masked off the areas I didn’t want glue on to be removed later.
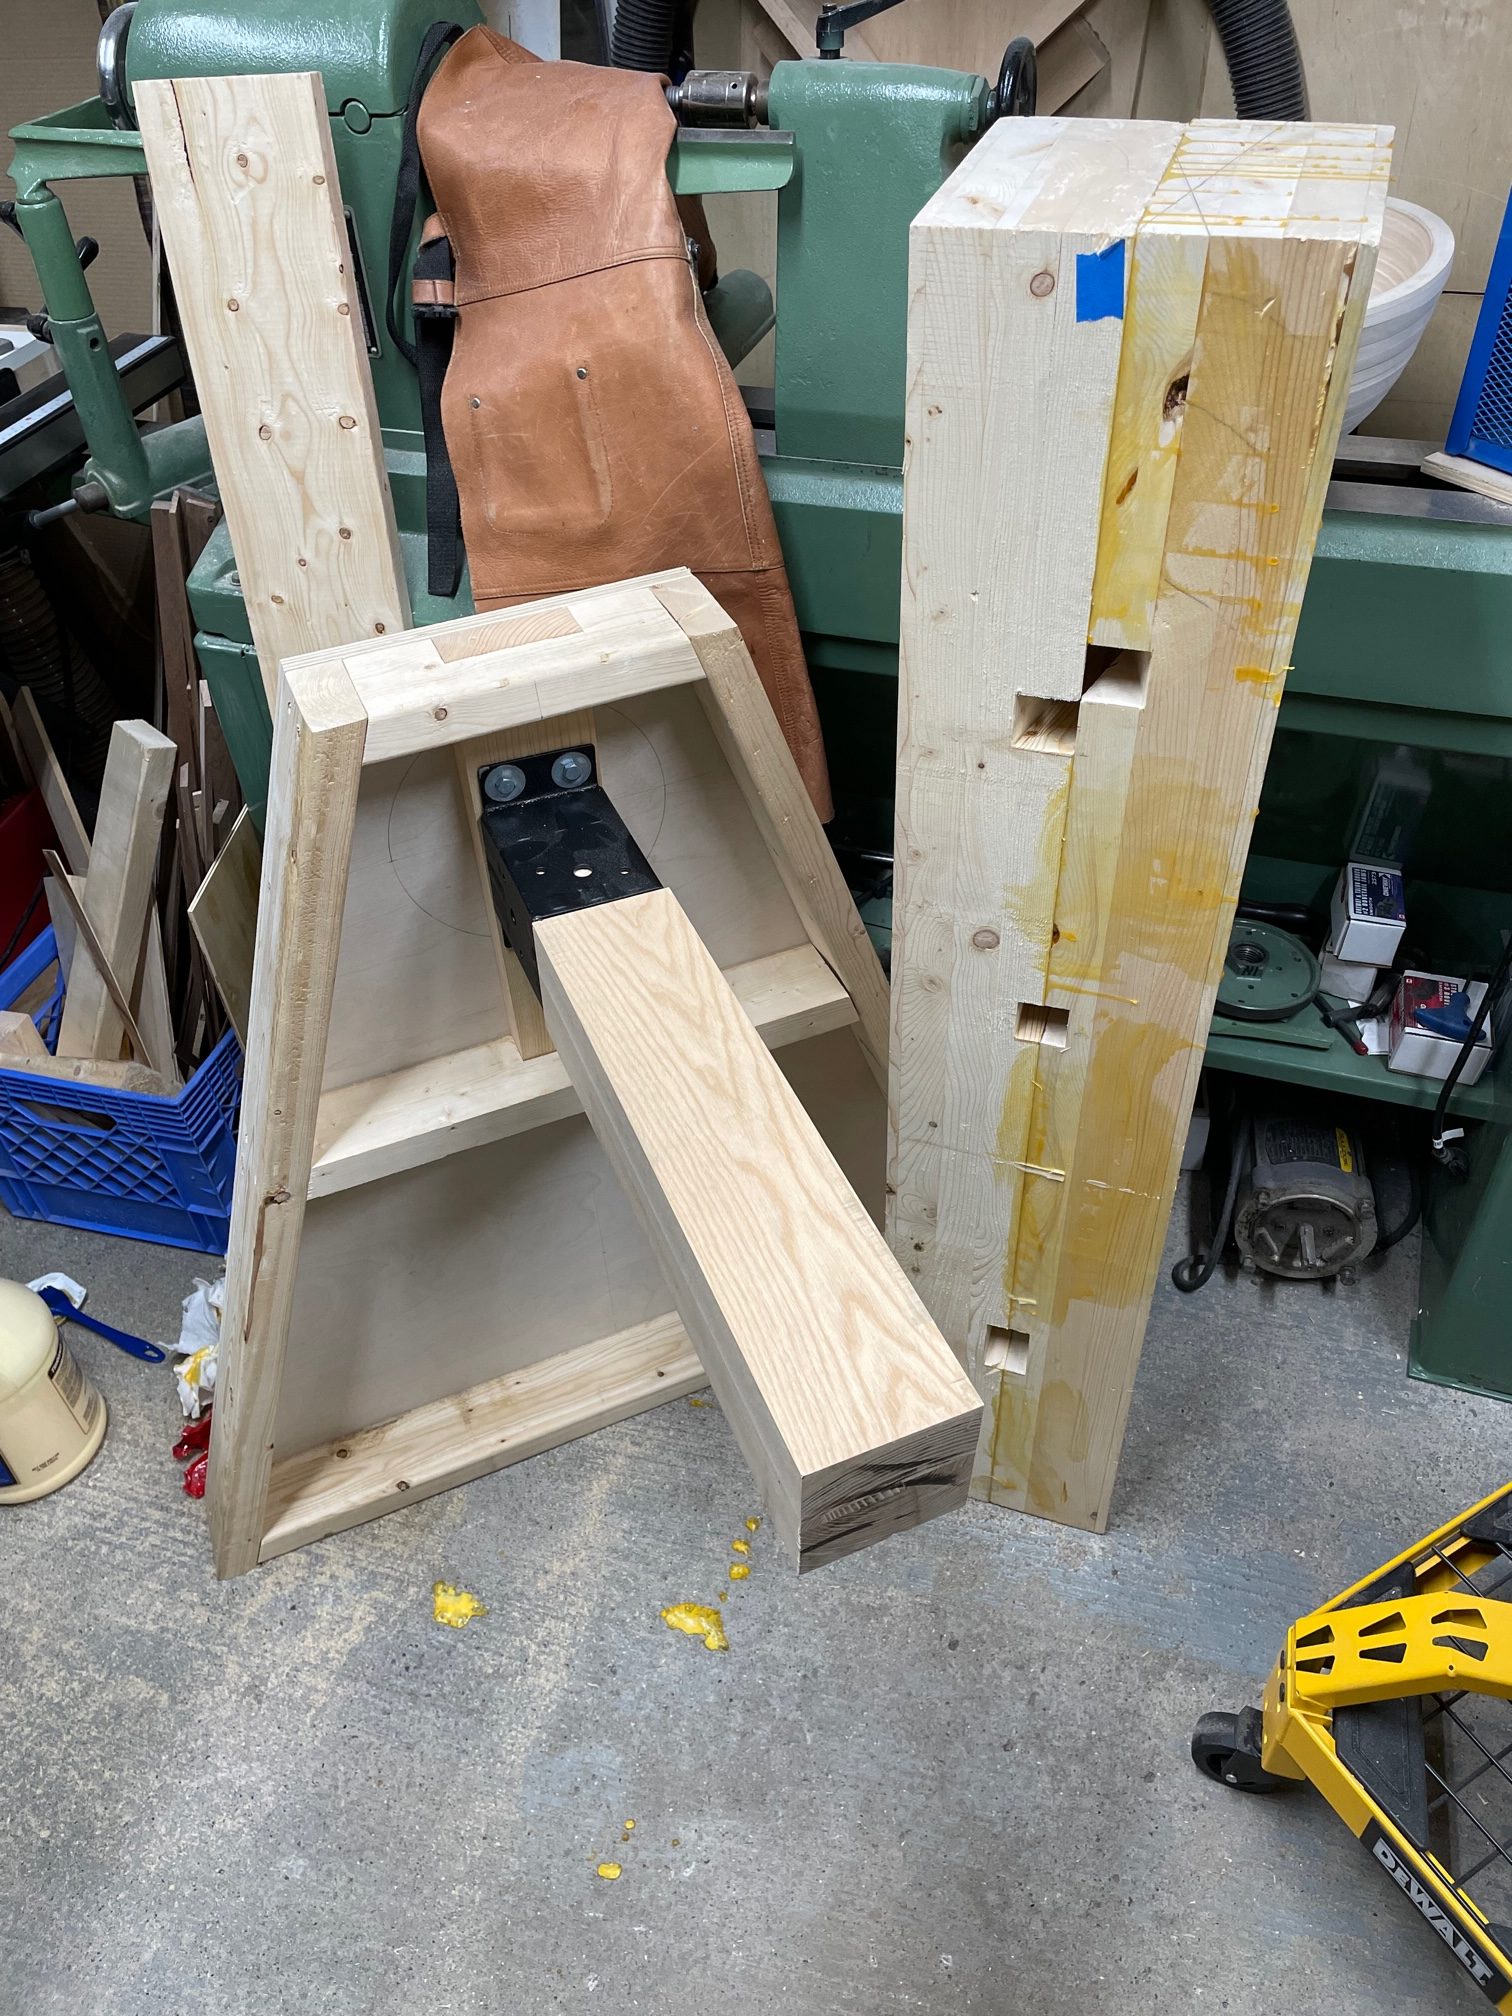
Here is a version of a stand I’ll be making that doesn’t’ require hanging anything on a wall.
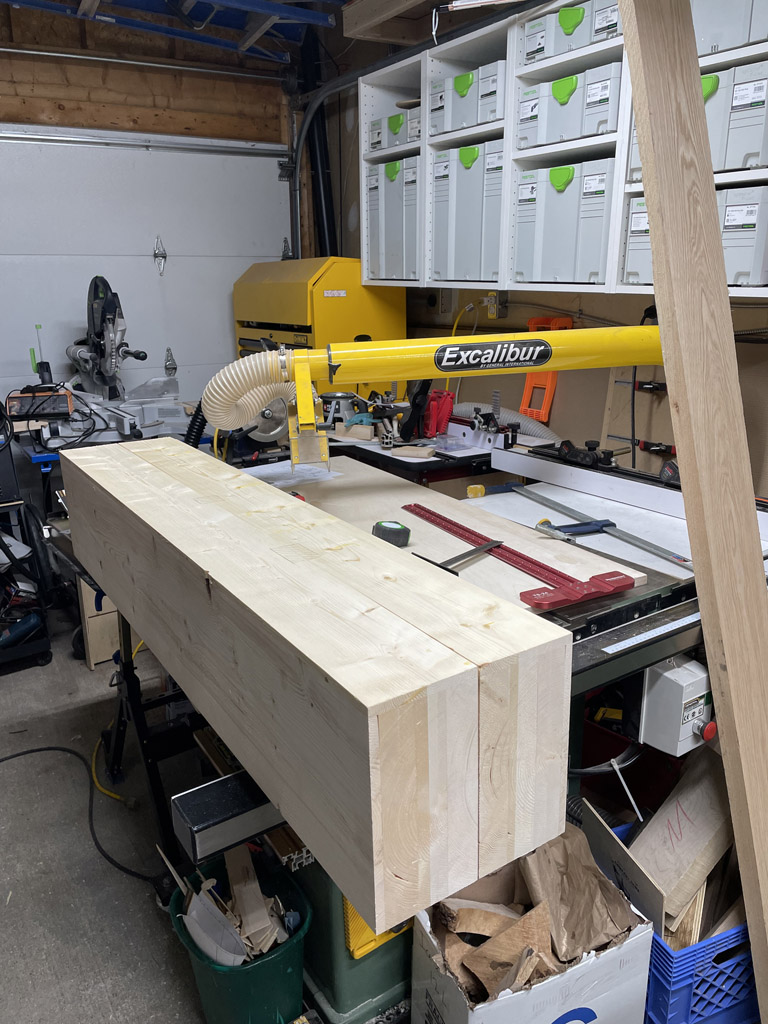
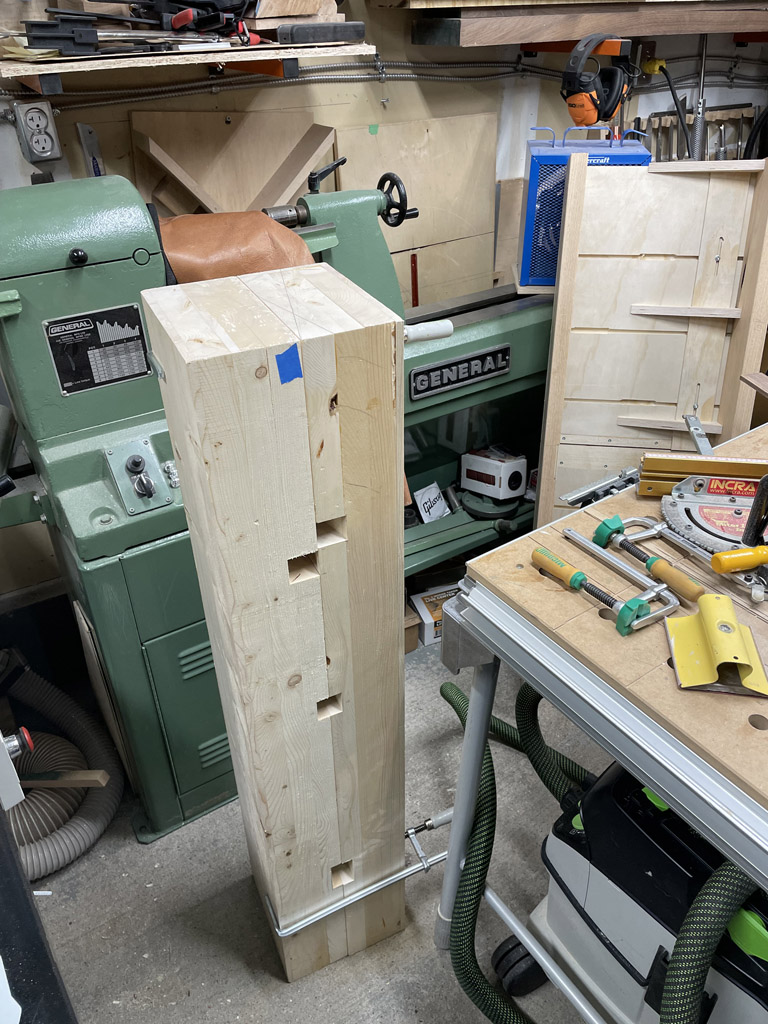
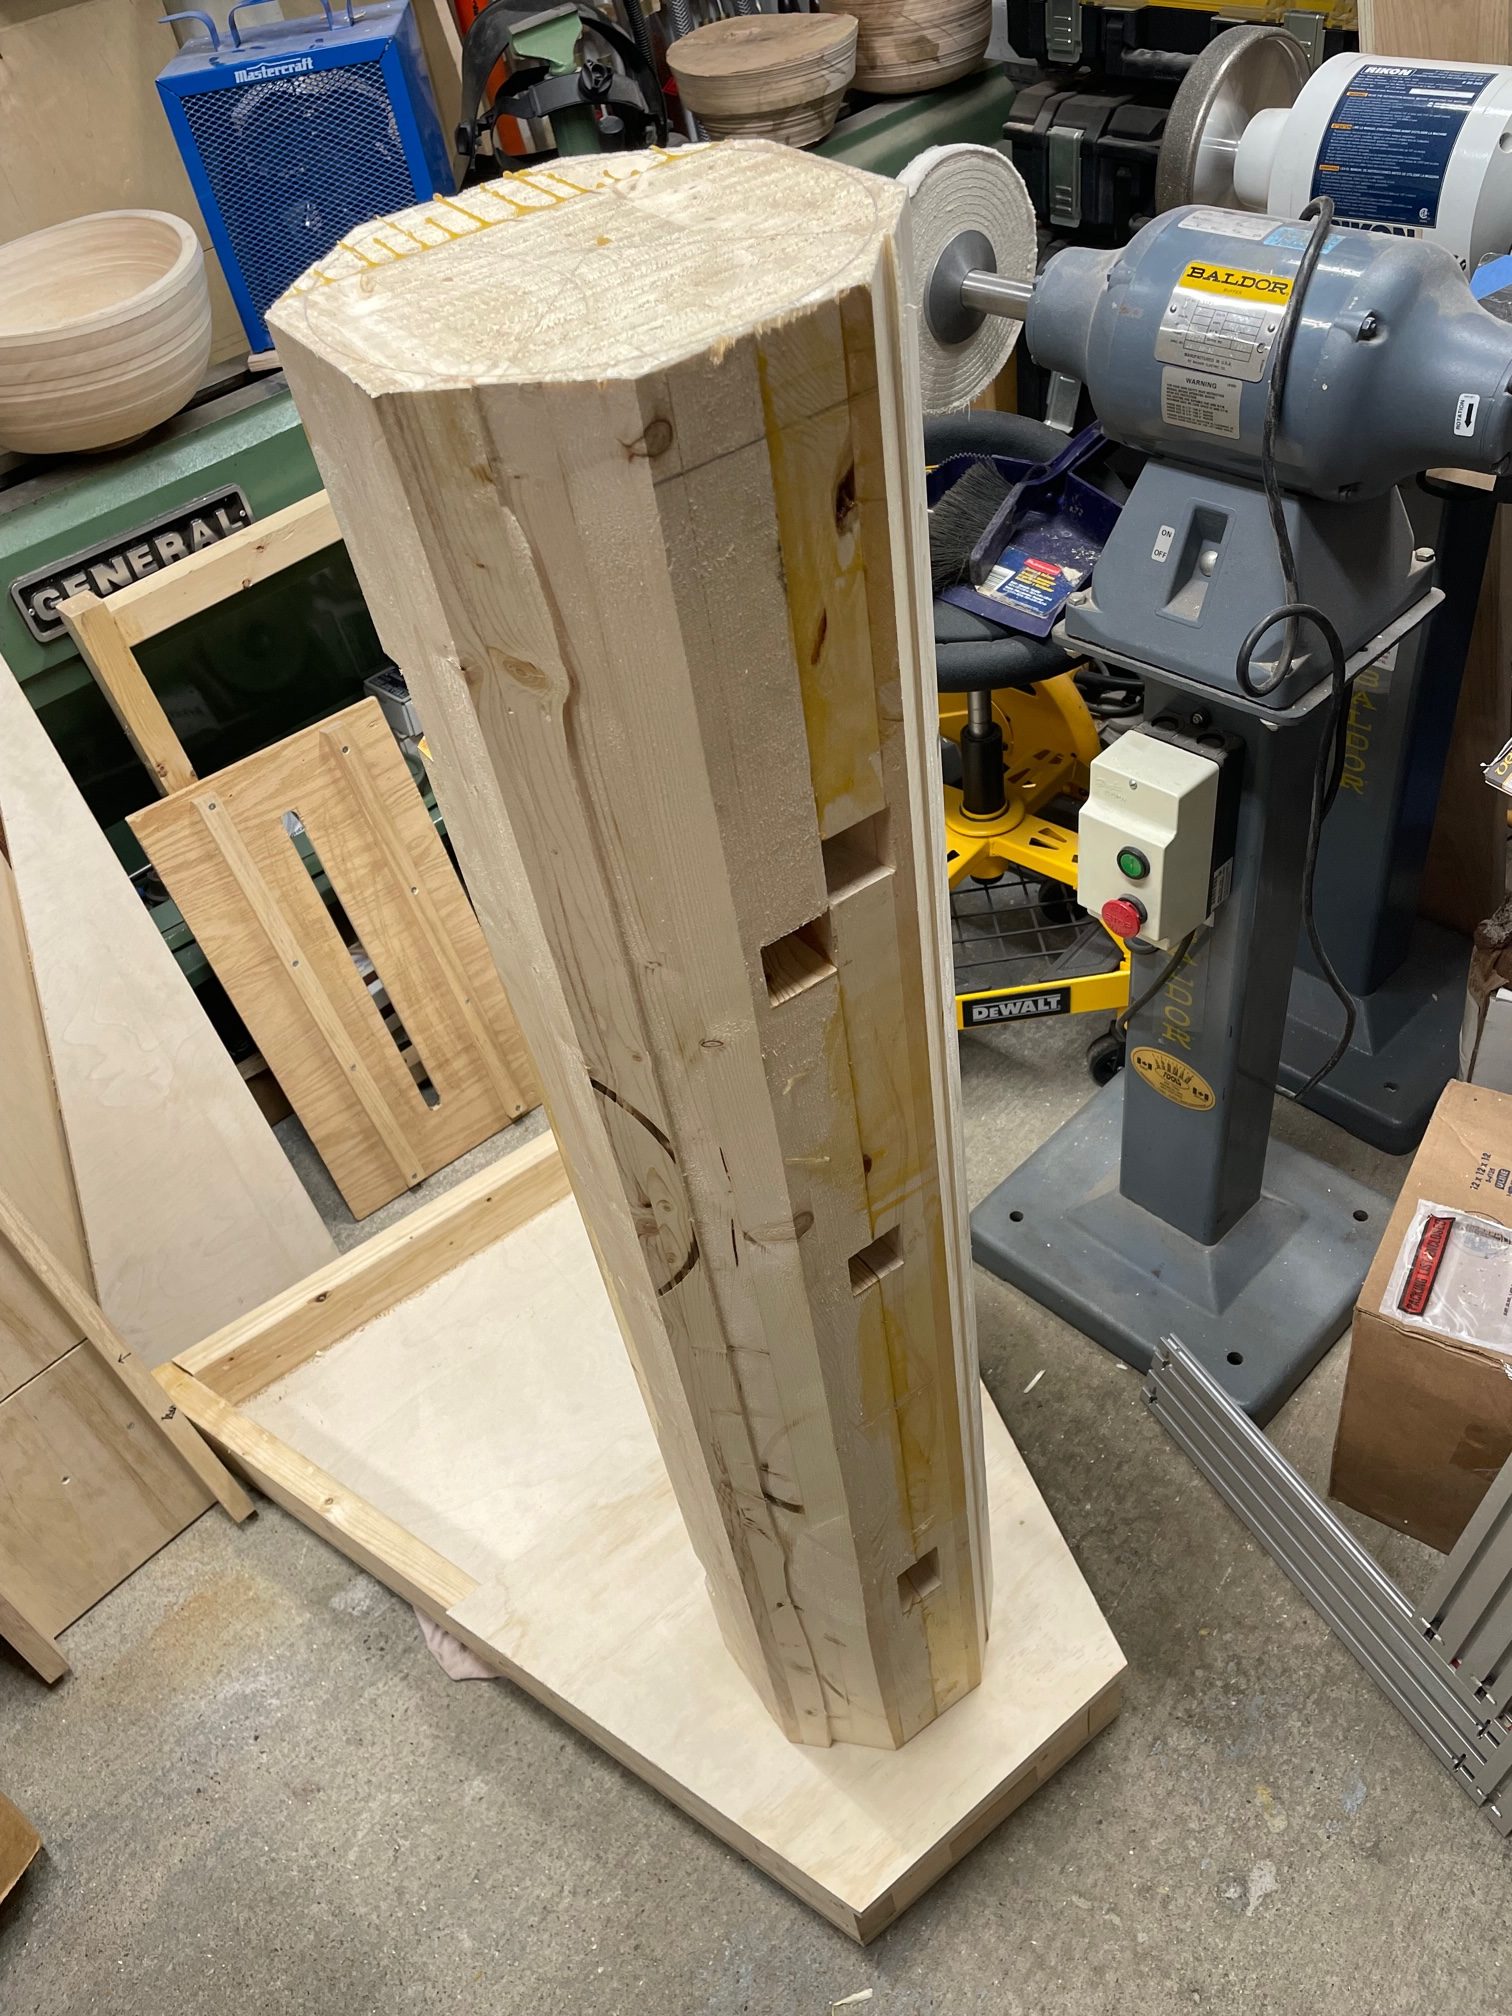
I ran the square body through the table saw to knock the corners off so it will be less time spent on the lathe making it round.
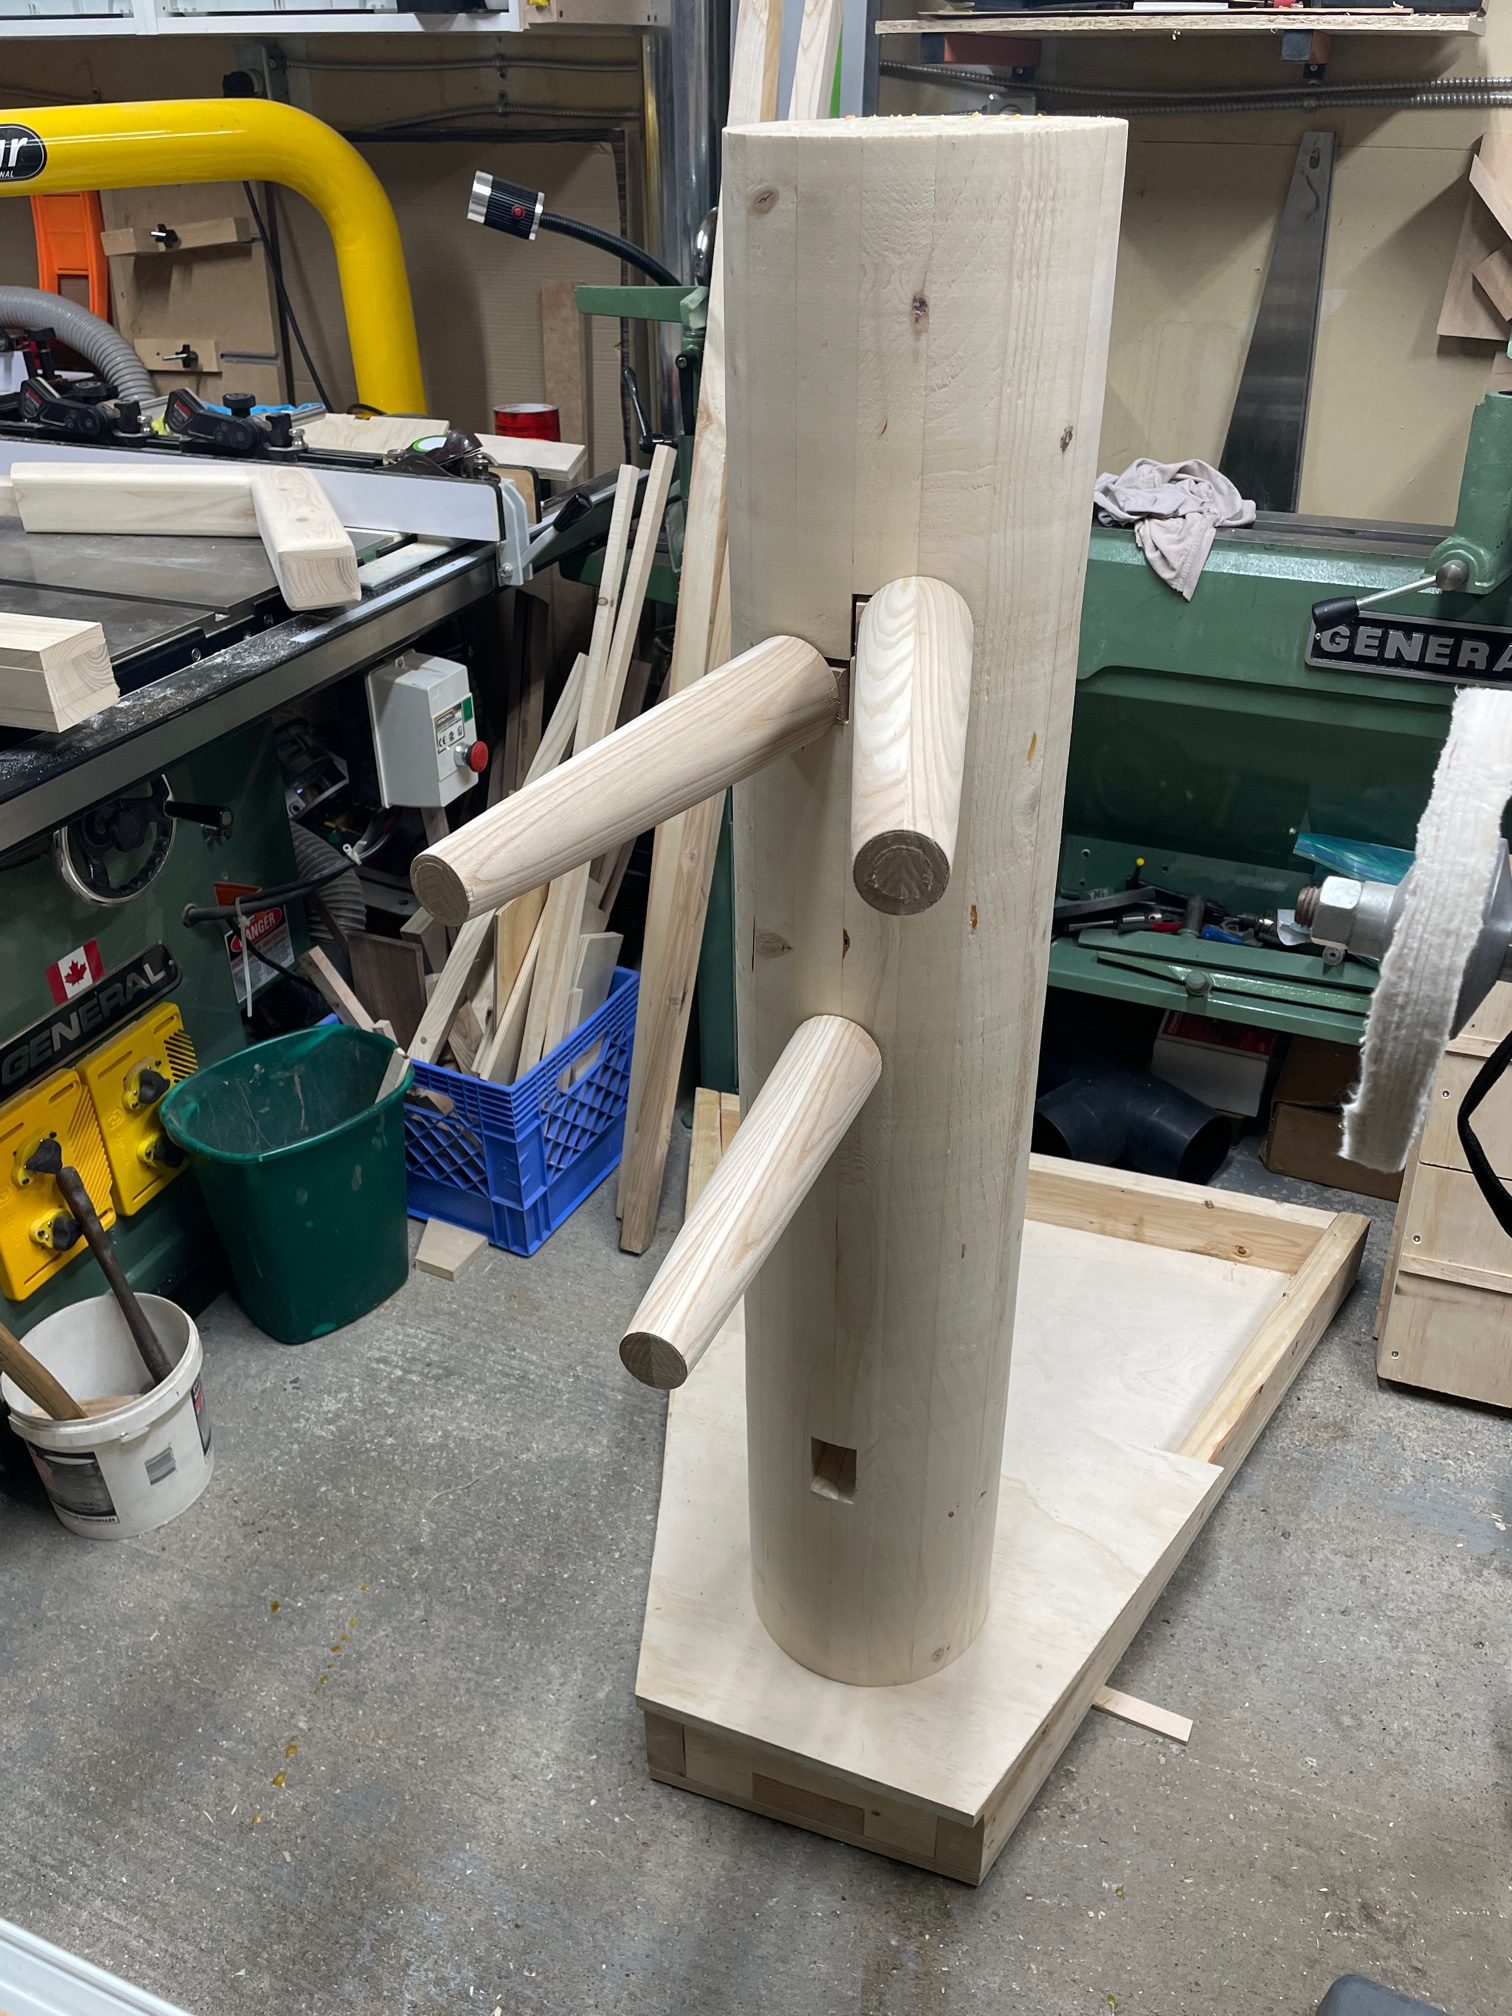
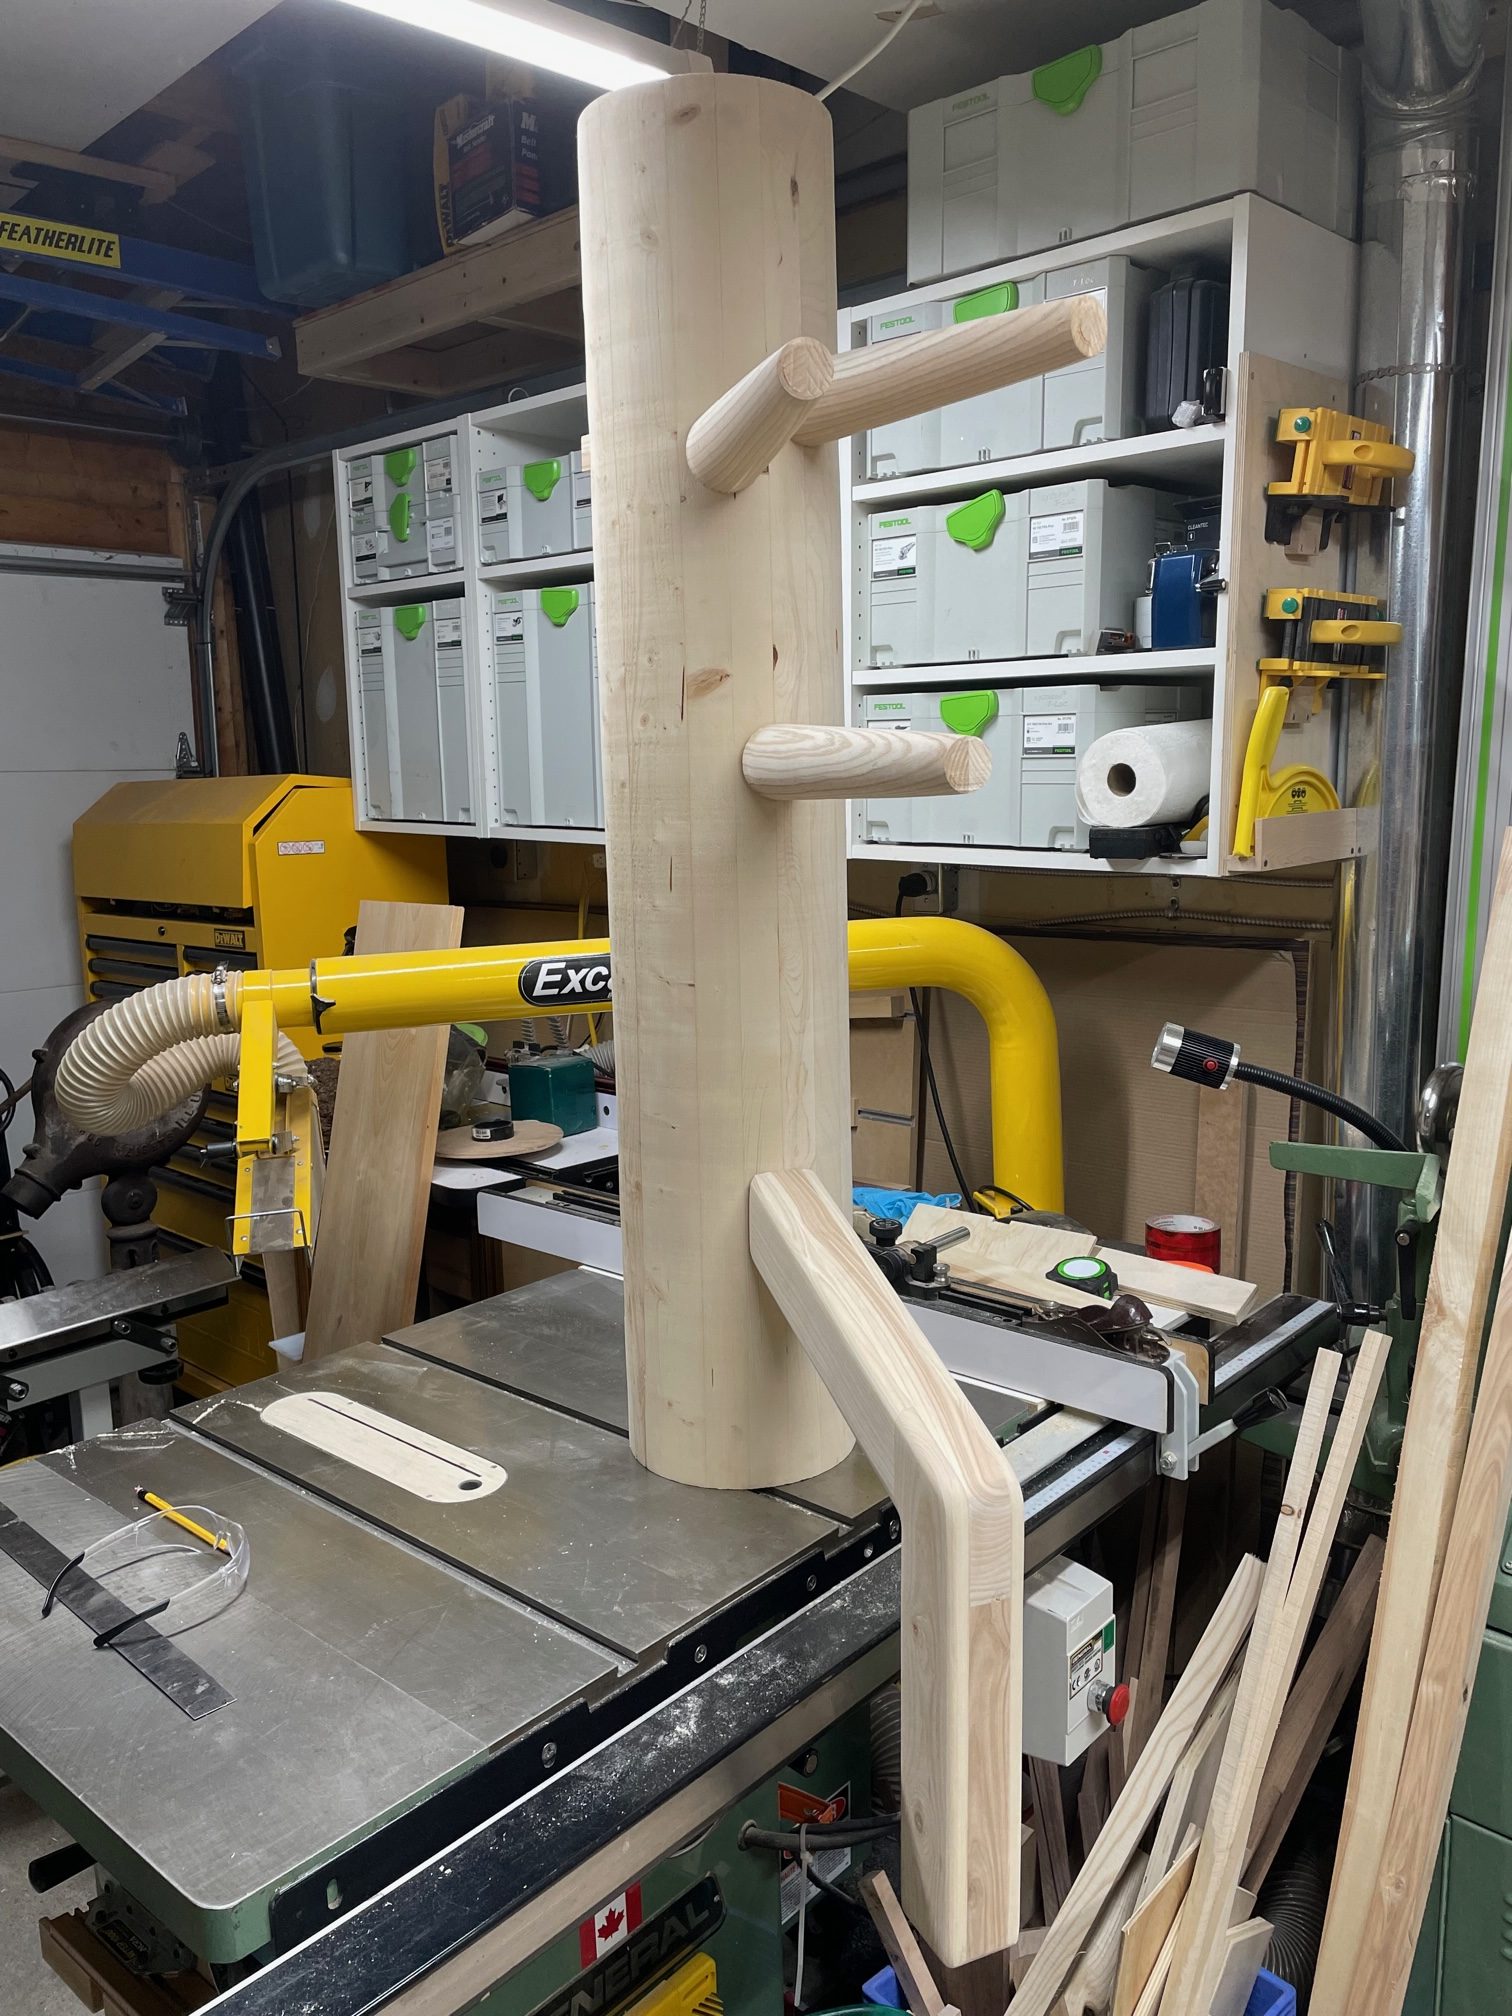
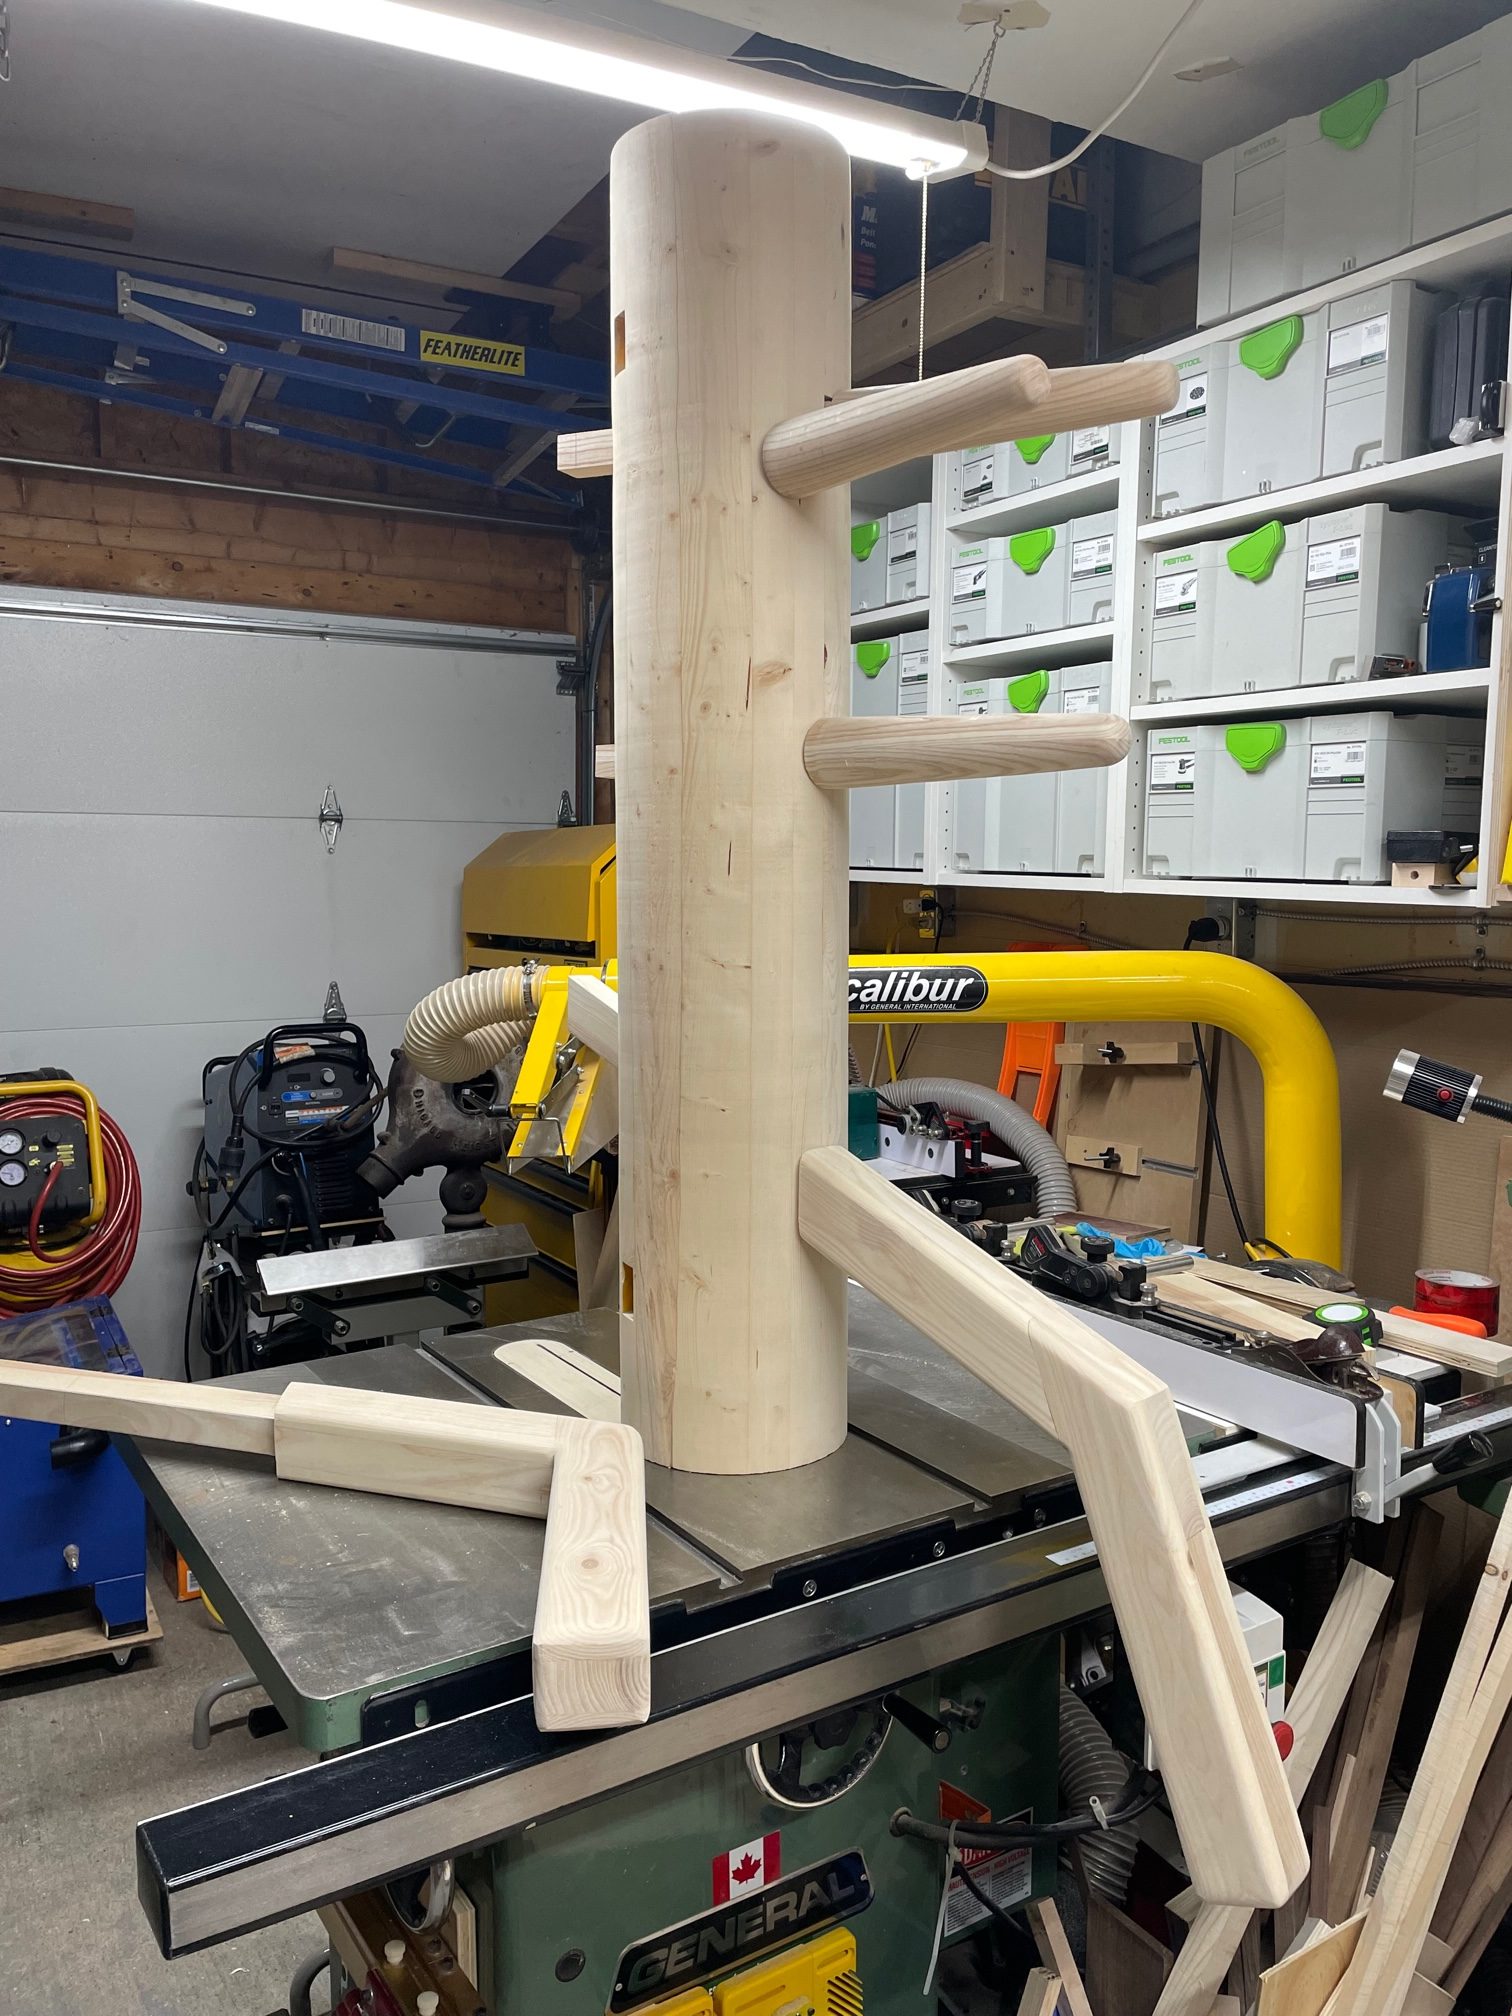
The 3 arms are done, 2 offset and one centered on the tenon that slides into the dummy. Unfortunately I then found out my plan was revered as the left arm is supposed to be higher than the right. I’ll fix that for next time. 8.5″ apart at the top arm tips.
Now to work on the leg, I’ll do one angled leg and one straight down depending on preference.
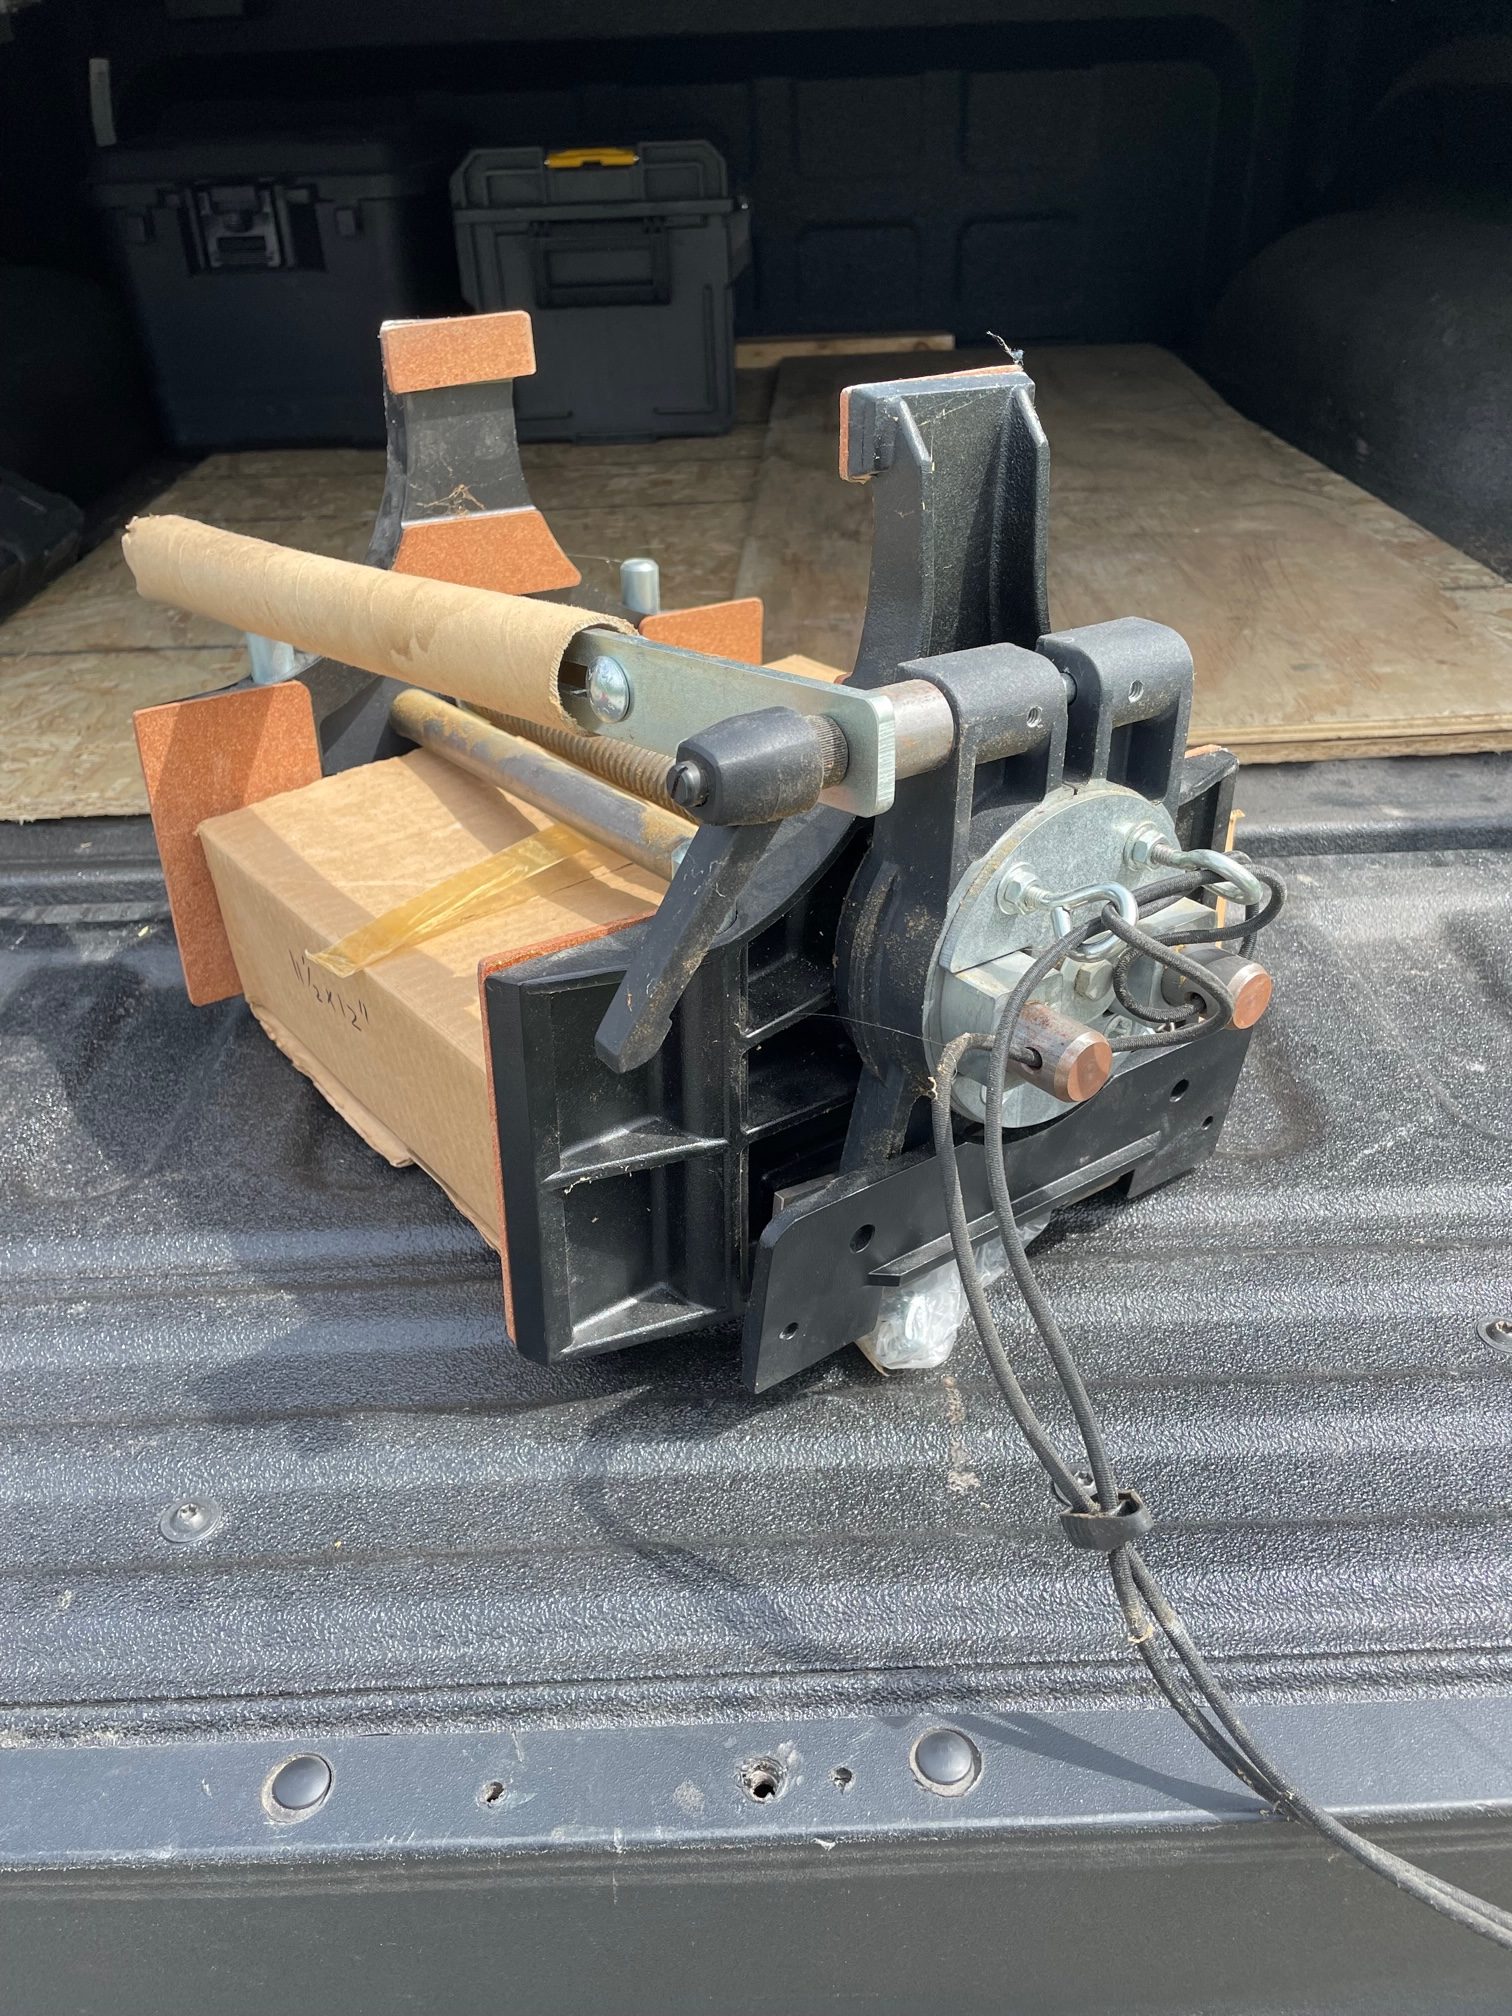
The arms and leg is made out of ash, very strong like white oak.