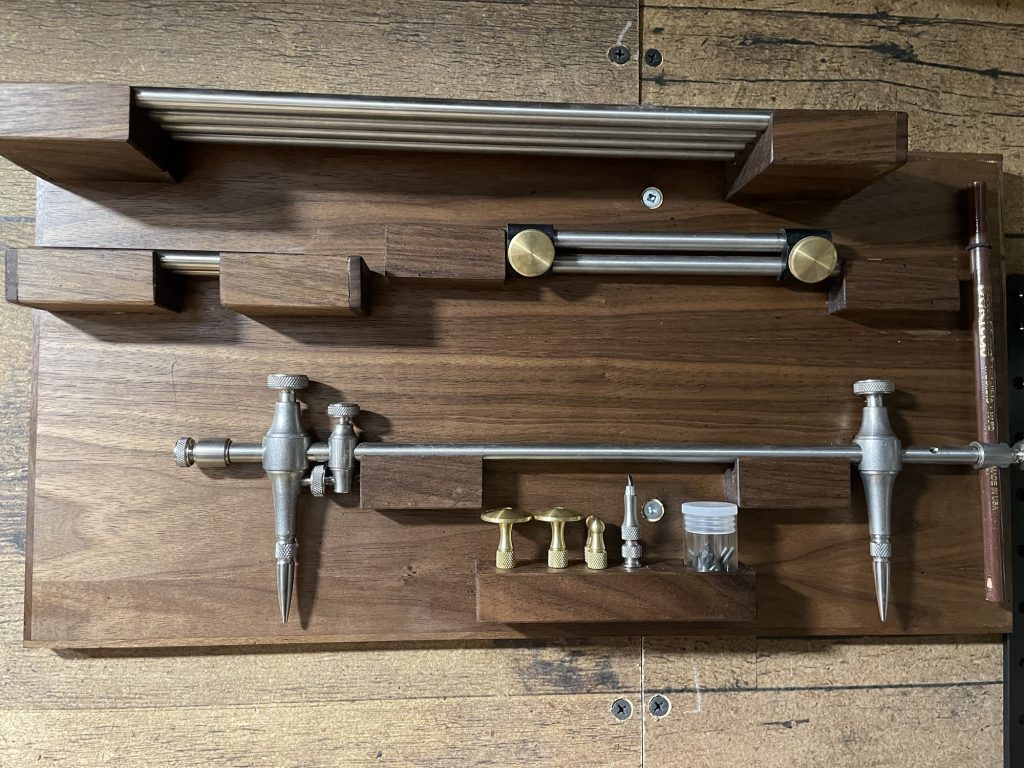
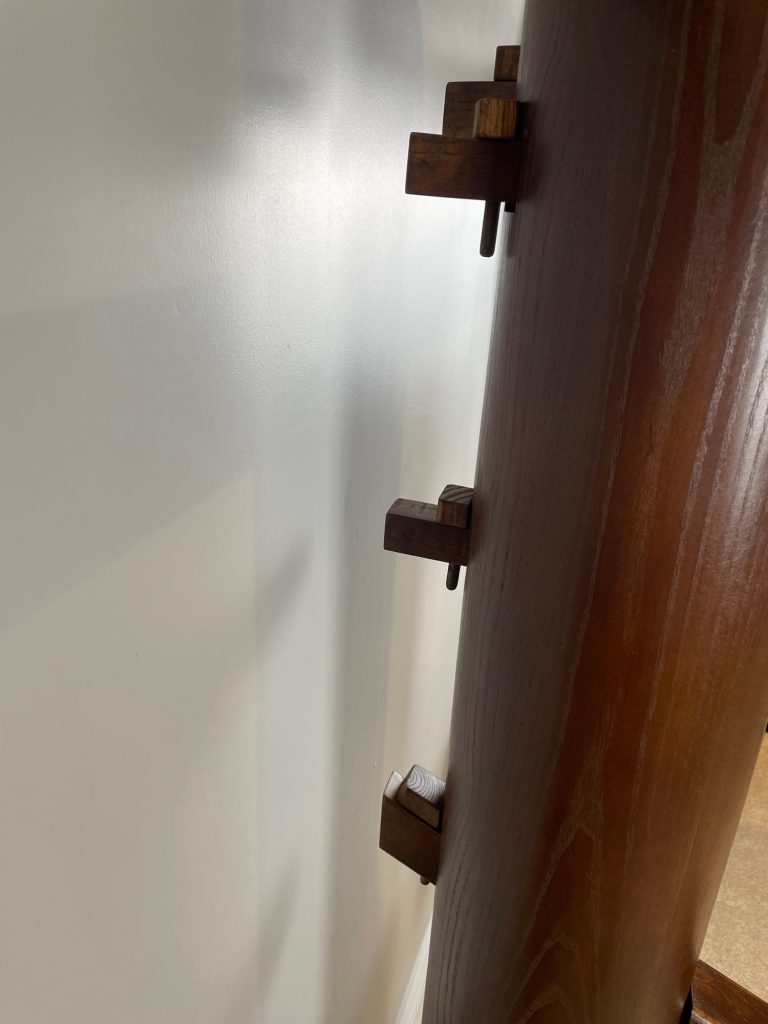
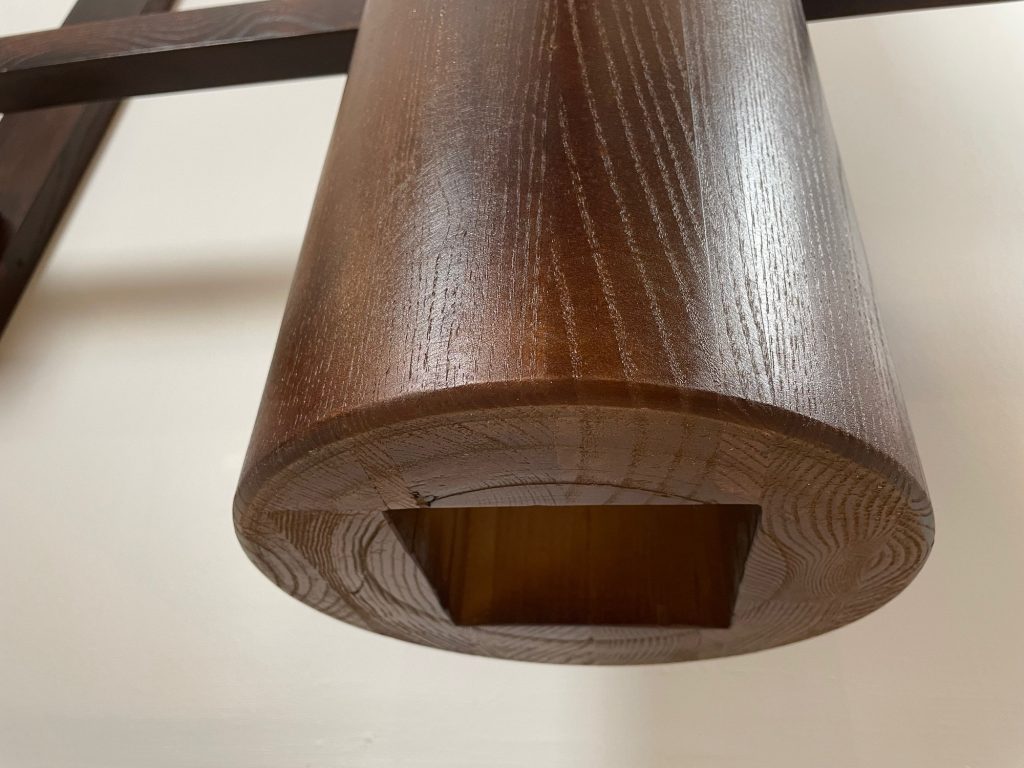
While in our vacation in Moncton we stopped in at Jessem Tools, a high quality woodworking tool company proudly Canadian. It’s a new facility and when I asked if they had a showroom to view their products he took me in the back warehouse manufacturing area where they were assembling everything and he gave me a run through on their new products.
Left handed model as the right arm is higher than the left arm (reverse order) Wall mount included.
1/8″ space around limb tenons for correct movement. All limbs come with wooden pegs to hold in place. Dummy is allowed to slide side to side on hangers.
Body is 9″ diameter solid pine/spruce/fir 4 feet tall body. Arms/legs/wall mount are solid ash hardwood for strength.
All specifications for arms/legs correct: Arms 8.5″ apart from center point of arm. Arm tenons 1 1/4″ square. Arm widest diameter 2 1/2″ Arm narrow tip 1 1/2″
Leg is straight down model Leg is 2 1/2″ x 3″ thick. Leg tenon is 2 1/4″ x 1 1/4″
Body holes: Arms: 1 1/2″ square Leg 2 1/2″ x 1 1/2″ Large 4 1/8″x 4 1/8″ cavity on the bottom for optional mounting on a floor base/stand with 4″ post.
Pine/ash hardwood wall mount: Pine Wall beams: 5 feet tall, 2″ thick, 4″ wide Ash hangers (pegged mortise and tenon), ash cross beams top and bottom.
I’m getting better at designing things I need on the 3D printer in Fusion 360. I bought this popular model of a sawblade holder and they come with a large protruding knob that also sticks out the back so stacking them in a drawer isn’t easy. I made a new low profile knob and shortened the bolt so it’s flush in the back and nearly flush in the front, the height of a 5mm bolt head. This is good.
I wanted to put my pedals that I’ve collected and have been just sitting on the floor until now. I wanted a board that would keep them in place but I didn’t want to stick velcro on the back and stick them on a velcro board like most out there. I pay a lot for some of these pedals and I don’t want to stick anything on them.
I wanted something I could clamp on and reposition them if I wanted to. I didn’t mind using a screwdriver to do that, I would rarely move them around. I came up with a dovetail slotted board and I would 3D print the dovetail slot keys that slide in the grooves. A bolt wedged them tight. Then I bought 90 degree metal shelf clips that I stuck rubber pads on that would hold the pedals on the side.
It works great, made with walnut, 3d printed dovetail keys and bottom ledges designed by me.
I’ve completed the dummy body and worked out the plan and made sketchup diagrams with all dimensions for someone to make their own dummy.
Here I’ve masked off the areas I didn’t want glue on to be removed later.
Here is a version of a stand I’ll be making that doesn’t’ require hanging anything on a wall.
I ran the square body through the table saw to knock the corners off so it will be less time spent on the lathe making it round.
The 3 arms are done, 2 offset and one centered on the tenon that slides into the dummy. Unfortunately I then found out my plan was revered as the left arm is supposed to be higher than the right. I’ll fix that for next time. 8.5″ apart at the top arm tips.
Now to work on the leg, I’ll do one angled leg and one straight down depending on preference.
The arms and leg is made out of ash, very strong like white oak.